
Water Damage Restoration: Save Your Home and Wallet
Act fast to save your home. This guide covers the essential steps for water damage restoration, from initial cleanup to insurance claims.

By Margaret Lowe
Learn more about Water Damage Cleanup and Restoration for guides, costs, and what to expect.
Compare Water Damage Cleanup and Restoration Pros Near You

Enter your ZIP code to compare top-rated local professionals and request free quotes.
Water damage does not wait for a convenient time. A burst pipe, a sudden storm, or an overflowing appliance can turn a quiet evening into a frantic scramble to save your belongings. Within minutes, moisture seeps into drywall, wood flooring, and insulation. Within hours, the risk of structural warping and mold growth increases sharply. For homeowners, the path from the first drip to a fully restored home can feel overwhelming. Understanding the restoration process, the costs involved, and the immediate steps to take can make the difference between a minor repair and a major financial setback.
This guide walks you through the essential phases of water damage restoration, from the initial emergency response to the final touches that bring your home back to life. You will learn how to assess the situation safely, work with insurance adjusters, and choose the right professionals for the job. With a clear plan, you can minimize disruption and protect one of your most valuable assets.
Immediate Actions to Stop the Bleeding
The first hour after water intrusion is critical. Your primary goal is to stop the source of the water and remove as much standing water as possible. If the water comes from a broken pipe, locate your main water shutoff valve and turn it off immediately. If the issue is storm-related, wait for conditions to improve before assessing damage. Safety is the absolute priority; never enter a room where the ceiling is sagging or where water is near electrical outlets or appliances.
Once the source is stopped, begin extracting water. A wet/dry vacuum is excellent for small areas. For larger floods, a sump pump might be necessary. Use towels, mops, and buckets to remove as much water as you can. Move furniture, rugs, and other valuables to a dry area. Place aluminum foil or wood blocks under furniture legs to prevent them from staining wet carpet. Open windows and doors to promote air circulation, but only if the humidity outside is lower than inside.
Here are the key steps to take in the first 24 hours:
- Document everything: take photos and videos of the damage for your insurance claim before you start cleaning.
- Remove all wet fabrics, including curtains, upholstery, and clothing, to prevent dye transfer and mold.
- Use fans and dehumidifiers continuously to dry out the affected areas.
- Discard porous materials like mattresses, pillows, and cardboard boxes that cannot be properly sanitized.
These immediate actions can significantly reduce the overall restoration cost. However, hidden moisture is often the biggest threat. Water can travel along wall cavities and under flooring, creating the perfect environment for mold. This is why professional assessment is not just a convenience, it is a necessity for a thorough recovery.
Understanding the Three Categories of Water
Not all water is created equal. The restoration process depends heavily on the type of water involved. Insurance policies and restoration protocols are built around these categories, so understanding them helps you communicate effectively with contractors and adjusters.
Category 1: Clean Water. This is water from a sanitary source, such as a broken supply line, a sink overflow, or a rainwater leak. It poses no immediate health risk, but it can degrade into Category 2 or 3 if left untreated for more than 48 hours. Restoration focuses on extraction and drying.
Category 2: Gray Water. This water contains significant contamination and may cause illness if ingested. Sources include washing machine overflows, dishwasher discharges, or toilet overflows with urine (but no feces). This requires more rigorous cleaning and disinfection of affected surfaces. Carpets and upholstery often need to be discarded.
Category 3: Black Water. This is grossly unsanitary and contains pathogenic agents. Sources include sewage backups, flooding from rivers or streams, and standing water that has begun to support bacterial growth. This category requires extensive decontamination. Porous materials such as drywall, insulation, and carpet must be removed and replaced. Professional restoration companies have the specialized equipment and training to handle this safely.
Properly identifying the water category dictates the restoration strategy. Attempting to clean black water with household products is dangerous and ineffective. It is crucial to involve professionals who can test the water and follow the Institute of Inspection, Cleaning and Restoration Certification (IICRC) standards.
The Professional Restoration Process
When you hire a professional water damage restoration service, they follow a systematic approach to bring your home back to its pre-loss condition. This process is designed to be efficient and thorough, addressing both visible damage and hidden threats. Knowing what to expect can ease your mind and help you track progress.
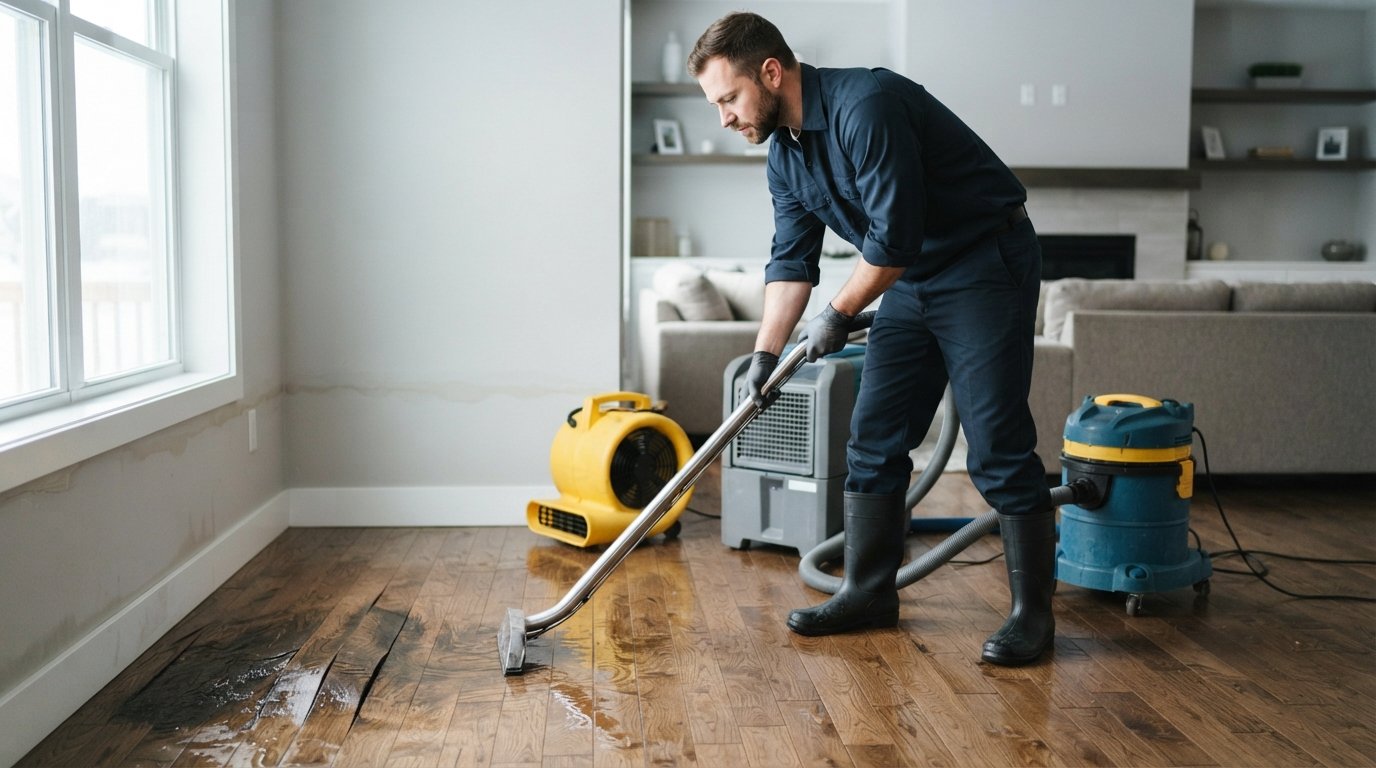
The first step is a comprehensive inspection and water damage assessment. Technicians use moisture detectors and hygrometers to map out the extent of the damage. They will identify the source of the water, categorize it, and create a restoration plan. This is followed by water removal, where powerful pumps and extraction units are used to remove standing water quickly. The goal is to prevent the water from seeping deeper into the structure.
After extraction, the drying and dehumidification phase begins. Industrial-grade air movers and dehumidifiers are strategically placed to evaporate moisture from walls, floors, and ceilings. This is a gradual process that can take several days. Technicians will return daily to monitor the moisture levels and adjust the equipment as needed. The goal is to bring the moisture content of materials back to their normal levels.
Once the structure is dry, cleaning and sanitizing begin. This involves cleaning all surfaces, including walls, floors, and personal belongings. Restoration professionals use specialized cleaning agents to remove odors and inhibit mold growth. They may also use techniques like foam cleaning, abrasive cleaning, or immersion cleaning for different types of materials. Finally, the restoration phase involves repairing or replacing damaged materials, such as installing new drywall, flooring, or cabinets.
Mold Remediation and Prevention
Mold is the most common and dangerous secondary effect of water damage. It can begin to grow within 24 to 48 hours of water exposure. Mold spores are always present in the air, but they need moisture to thrive. Once they find a damp surface, they can spread rapidly, causing structural damage and health problems like allergies, asthma attacks, and respiratory infections.
Prevention is the first line of defense. Rapid drying is essential to prevent mold from taking hold. However, if mold is already visible or a musty odor is present, professional remediation is required. Mold remediation is different from simple cleaning. It involves containing the affected area to prevent spores from spreading, using HEPA filters to clean the air, and physically removing mold-infested materials. Knowing how to handle these unwanted guests is critical. In our guide on pest control for water damage restoration, we explain how to deal with insects and rodents that often follow moisture issues, protecting your home from a secondary invasion.
After remediation, it is vital to address the underlying moisture problem. This might involve repairing leaky pipes, improving ventilation in bathrooms and kitchens, or installing a sump pump in the basement. The restoration process should ensure that the building materials are completely dry before they are rebuilt. If mold is found inside wall cavities, the drywall must be removed and replaced, as it is impossible to fully clean porous materials.
Navigating Insurance Claims and Costs
Water damage restoration can be expensive, and navigating the insurance claim process is often as stressful as the damage itself. The cost varies widely depending on the extent of the damage, the category of water, and the affected square footage. A small leak might cost a few hundred dollars to dry, while a full basement flood can cost tens of thousands to restore.
Your homeowner's insurance policy is your first resource. Standard policies typically cover sudden and accidental water damage, such as from a burst pipe or appliance failure. However, they usually do not cover damage resulting from lack of maintenance, such as a slow leak that has been ongoing for months. Flood damage from rising water is also typically excluded and requires a separate flood insurance policy.
Documenting the damage is crucial for a successful claim. Take photos and videos of everything before you begin any cleanup. Keep receipts for any emergency purchases, such as a wet/dry vacuum or fans. When you file a claim, an insurance adjuster will inspect the damage and provide an estimate. This estimate may differ from the restoration company's estimate. It is common for restoration companies to work directly with your insurance provider to ensure all damage is accounted for.
To avoid disputes, get a detailed written estimate from the restoration company and share it with your adjuster. Ask about line items for disposal, dehumidification, and antimicrobial treatments. These are often points of contention. Remember that you have the right to choose your own restoration contractor, even if your insurance company recommends one.
Preventing Future Water Damage
Once your home is restored, the focus should shift to prevention. Proactive measures can save you from the headache and expense of a repeat incident. Regular maintenance is the most effective way to prevent water damage. Inspect your roof for missing or damaged shingles, clean your gutters regularly to prevent ice dams and overflow, and check the caulking around windows and doors.
Inside the house, inspect appliances that use water, such as washing machines, dishwashers, and refrigerators. Replace worn-out hoses and connections. Install water leak detection devices, which can alert you to small leaks before they become major floods. These smart devices can be placed near water heaters, under sinks, and behind toilets.
Pay attention to your water bill. An unexplained spike in usage often indicates a hidden leak. Also, check your water heater for signs of rust, corrosion, or pooling water at the base. A failing water heater is one of the most common causes of residential water damage. By staying vigilant and addressing small issues promptly, you protect the integrity of your home and avoid the disruption of a major restoration project.
Water damage is a formidable adversary, but it is manageable with the right knowledge and quick action. From the moment you discover the leak to the final inspection, each step is about minimizing loss and preventing future issues. The process involves more than just drying a carpet; it requires a strategic approach to ensure the safety and longevity of your home. By taking immediate action, understanding the scope of the work, and working with qualified professionals, you can navigate this stressful event with confidence. For a successful outcome, treat the restoration process as a partnership between you, your contractor, and your insurance company, all working toward the common goal of making your house a safe, dry home again.