
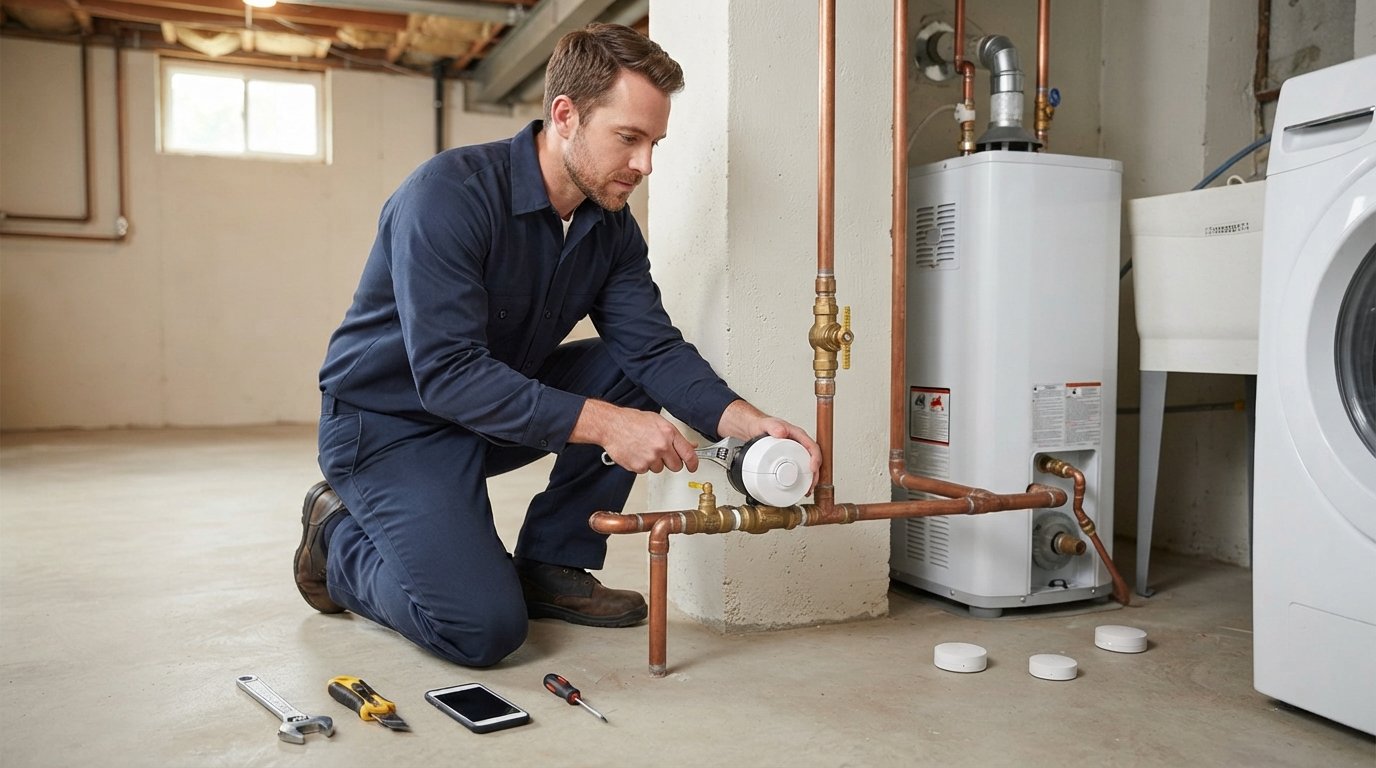
Smart Water Leak Detection System Installation Guide
Smart water leak detection system installation stops hidden leaks before they cause costly damage. Call 8333658755 to connect with trusted local pros.

By Jackson Adams
Learn more about Smart Home Installation or Repair for guides, costs, and what to expect.
Compare Smart Home Installation or Repair Pros Near You

Enter your ZIP code to compare top-rated local professionals and request free quotes.
A single hidden pipe leak can waste thousands of gallons of water, rot structural framing, and quietly breed mold behind your walls for months before you notice a stain on the ceiling. That is why smart water leak detection system installation has moved from a niche upgrade to a mainstream priority for homeowners who want to protect their investment. These systems watch your plumbing around the clock, learn your household water patterns, and shut off the supply the moment something looks wrong. This guide walks you through how the technology works, what installation involves, what it costs, and how to match the right system to your home.
How Smart Water Leak Detection Systems Actually Work
At the center of most systems is a controller that mounts near your main water shut-off valve. The controller connects to a motorized valve that can open or close your home's water supply on command. Flow sensors monitor the rate and volume of water moving through your pipes, often sampling hundreds of times per second. When the data shows a pattern that does not match normal use, such as continuous flow at 3 a.m. when everyone is asleep, the system triggers an alert and can close the valve automatically.
Beyond flow monitoring, many systems include wireless pucks or cable sensors placed near water heaters, washing machines, dishwashers, under sinks, and beside sump pumps. These sensors detect standing water on the floor and report back to the hub within seconds. The best setups combine both approaches: flow analysis catches hidden leaks inside walls, while spot sensors catch drips and overflows at specific fixtures. Together they create layered protection that a single device cannot match.
Connectivity is what makes these systems "smart." Most hubs link to your home Wi-Fi network and push notifications to a smartphone app. You can check real-time usage, review history, and close the valve remotely if you are away on vacation. Some platforms integrate with home assistants or security systems, and a few support automatic daily shutoff tests that confirm the valve still works. If you want to understand the broader category of leak detection before choosing a product, our guide on plumbing leak detection explains the differences between acoustic listening tools, thermal imaging, and the smart flow-based systems covered here.
What Installation Involves, Step by Step
Installation is less invasive than most homeowners expect, but it does require basic plumbing skill and comfort working near live wiring. If your main shut-off valve is old, corroded, or hard to turn, a plumber should handle the swap. Otherwise, a confident DIYer can complete the job in a few hours. The sequence below reflects how professional installers approach a typical single-family home.
- Locate the main water line and shut-off valve. Find where the supply enters the house, usually in a basement, garage, or utility closet. Confirm the valve works and note the pipe material and diameter.
- Shut off water and drain the line. Close the main valve, open the lowest faucet in the house, and let the line depressurize before cutting anything.
- Install the motorized shut-off valve. Cut a section of pipe and fit the smart valve, soldering copper, crimping PEX, or threading the connection to match your plumbing. Follow the manufacturer's orientation arrows for flow direction.
- Mount the controller and connect power. Position the hub within reach of the valve and a standard outlet. Many units use a low-voltage plug, but some hardwire into a junction box, which may require an electrician.
- Place wireless leak sensors. Put pucks near the water heater, washing machine, dishwasher, refrigerator ice maker, and under every sink. Label each sensor in the app so alerts tell you exactly where water appeared.
- Pair devices and calibrate. Download the app, join the hub to Wi-Fi, pair each sensor, and run the manufacturer's calibration cycle. The system needs a few days of normal use to learn your household patterns.
- Test the automatic shutoff. Trigger a manual close from the app, confirm the valve seats fully, then reopen it. Repeat once more after a week to verify reliability.
One detail that trips up many homeowners is valve compatibility. Some smart controllers only work with specific valve brands, and some valves only fit certain pipe sizes, such as 3/4-inch or 1-inch. Measure before you buy. If you are not sure about your pipe size or the condition of your main valve, a licensed plumber can handle the whole job, and platforms like USremodel can connect you with independent contractors who specialize in plumbing and home system upgrades.
Choosing the Right System for Your Home
Not every home needs the same level of protection. A small condo with a single bathroom has different risks than a two-story house with a pool, irrigation system, and three water heaters. Matching the system to your layout and habits prevents overspending and reduces false alarms. Consider these factors before you commit.
- Home size and plumbing complexity: Larger homes with multiple zones benefit from systems that support many sensors and longer pipe runs.
- Valve size and type: Confirm the controller works with your pipe diameter and material (copper, PEX, PVC, or galvanized).
- Sensor count and range: Count the high-risk spots in your home, then choose a kit that covers them without forcing you to buy add-ons later.
- App quality and alerts: Look for clear notifications, usage history, and the ability to shut off water remotely.
- Insurance and warranty benefits: Some insurers discount premiums for professionally installed shutoff systems, and some manufacturers extend warranties when a licensed pro does the work.
Price is the other major factor. Basic DIY kits with one valve and a few sensors run a few hundred dollars, while whole-home systems with professional installation and a dozen sensors can reach well over a thousand. The calculation that matters is not the sticker price but the cost of a single catastrophic leak, which routinely runs into five figures once you factor in drywall, flooring, mold remediation, and temporary relocation. A system that prevents one burst supply line pays for itself many times over.
Costs, Permits, and Professional Installation
Most homeowners can expect to pay between $150 and $400 for a quality DIY kit, plus another $200 to $600 for a plumber to install the valve and controller if they prefer not to do it themselves. Whole-home professional packages, including sensors, calibration, and a walkthrough, typically land between $800 and $2,500 depending on home size and system brand. These figures vary by region, so get at least two quotes before deciding.
Permits are rarely required for a smart valve installed on the homeowner's side of the meter, but some municipalities treat any modification to the main water line as a plumbing alteration. Check with your local building department. If a permit is needed, a licensed plumber should pull it, and that requirement usually applies whether you install a smart system or a standard ball valve.
Professional installation offers three concrete advantages: correct valve sizing, proper electrical connections, and a warranty that stays valid. If your main shut-off is seized, your pipes are galvanized steel, or your electrical panel is far from the water line, hiring a pro is the safer choice. Many contractors also configure the app, label sensors, and walk you through the first week of alerts, which shortens the learning curve considerably.
Maximizing Protection After Installation
Once the system is live, a few habits keep it effective. Test the automatic shutoff monthly by closing the valve from the app and confirming the water stops. Replace sensor batteries on schedule, usually once a year, even if the app still shows a healthy charge. Update the firmware when prompted, because manufacturers frequently patch false-alarm logic and improve leak detection algorithms.
Review your usage dashboard weekly for the first month. You will learn what a normal shower, laundry cycle, and irrigation run look like, which makes it easier to spot anomalies later. Set your away mode before every trip so the system switches to a stricter threshold and shuts off quickly if flow continues while nobody is home. Finally, keep the manufacturer's support number and your plumber's contact saved in your phone, because a confirmed leak needs fast action even when the valve has already closed.
Smart water leak detection system installation is one of the highest-return safety upgrades a homeowner can make. It protects your structure, your belongings, and your peace of mind, and it often lowers insurance costs at the same time. Whether you tackle the project yourself or bring in a licensed professional, the investment pays for itself the first time a pipe fails at 2 a.m. and your home stays dry.