
Smart Thermostat Installation and Energy Savings Guide
Smart thermostat installation and energy savings go hand in hand when compatibility and settings are right. Call (833)-365-8755 for expert HVAC help.

Learn more about Thermostat Installation or Repair for guides, costs, and what to expect.
Compare Thermostat Installation or Repair Pros Near You

Enter your ZIP code to compare top-rated local professionals and request free quotes.
Your thermostat is the command center of your home's comfort, yet many homeowners still rely on outdated dial or programmable models that waste energy and money. Upgrading to a smart thermostat can cut heating and cooling costs by 10 to 25 percent annually, according to the Department of Energy, but only if the device is installed correctly and configured for your specific HVAC system. This guide walks you through the entire process, from checking compatibility and wiring requirements to dialing in schedules and geofencing that deliver real savings. Whether you are a confident DIYer or prefer to hand off the job to a pro, understanding what smart thermostat installation and energy savings actually involve will help you make a smart investment for your home.
Why Smart Thermostats Deliver Real Energy Savings
Smart thermostats learn your daily routines and adjust temperatures automatically, eliminating the wasted energy that comes from heating or cooling an empty house. Unlike basic programmable models that require manual scheduling, smart devices use occupancy sensors, geofencing, and machine learning to optimize run times. The result is a home that stays comfortable when you are there and conserves energy when you are not. According to Energy Star, the average household can save about $50 per year on energy costs by using a certified smart thermostat, though savings vary widely based on climate, home size, and utility rates.
The savings go beyond the thermostat itself. Many utility companies offer rebates for smart thermostat installation, and some demand-response programs pay you to let the utility adjust your thermostat during peak demand events. These incentives can offset the upfront cost significantly. For homeowners in states like Texas or Florida, where air conditioning runs for months on end, the payback period can be as short as one cooling season. In milder climates, the savings accrue more slowly but still add up over the device's lifespan of eight to ten years.
Compatibility Checks Before You Buy
Not every smart thermostat works with every HVAC system, and buying before checking compatibility is the most common mistake homeowners make. Heat pumps, multi-stage systems, and dual-fuel setups require thermostats with specific wiring and programming capabilities. Before purchasing, remove your current thermostat from the wall and take a photo of the wiring terminals. Count the wires and note the labels: R, W, Y, G, C, O/B, and Aux are common. Then cross-reference that photo with the compatibility checker on the manufacturer's website. If you are unsure, a qualified HVAC technician can perform a compatibility assessment during a routine maintenance visit.
Heat pump systems are a particular area of caution. They often require an O/B terminal to control the reversing valve, and some smart thermostats do not support dual-fuel configurations without additional accessories. Multi-stage systems, which have separate terminals for first-stage and second-stage heating or cooling, also need a thermostat that can handle multiple stages. If your system is zoned with multiple thermostats, each zone may need its own smart device, and the wiring for each zone must be verified independently. Taking these steps before you buy prevents the frustration of a return and ensures smart thermostat installation and energy savings work together as intended.
Wiring Requirements and the C-Wire Question
The C-wire, or common wire, provides continuous power to the thermostat. Many older homes lack a C-wire because their original thermostats ran on batteries. Without a C-wire, most smart thermostats will not function reliably, and some will not power on at all. Before installation, check whether your current thermostat has a wire connected to the C terminal. If it does not, you have three options: run a new wire from the HVAC unit to the thermostat location, install a C-wire adapter kit that repurposes an existing wire, or choose a smart thermostat that comes with a power adapter or battery-powered design.
Running a new wire is the most reliable long-term solution but can be labor-intensive if the wall is finished. A C-wire adapter is a practical alternative that installs at the air handler or furnace and uses the existing wiring bundle. Some manufacturers include an adapter in the box, while others sell it separately. If you are not comfortable working inside the HVAC cabinet, this is a job best left to a licensed technician. For homeowners in Chicago or other older cities where wiring can be unpredictable, a professional installation ensures the C-wire solution is safe and code-compliant. Our guide on thermostat installation with a smart solution covers more detail on wiring challenges and how to solve them.
DIY vs. Professional Installation: What You Can Safely Do
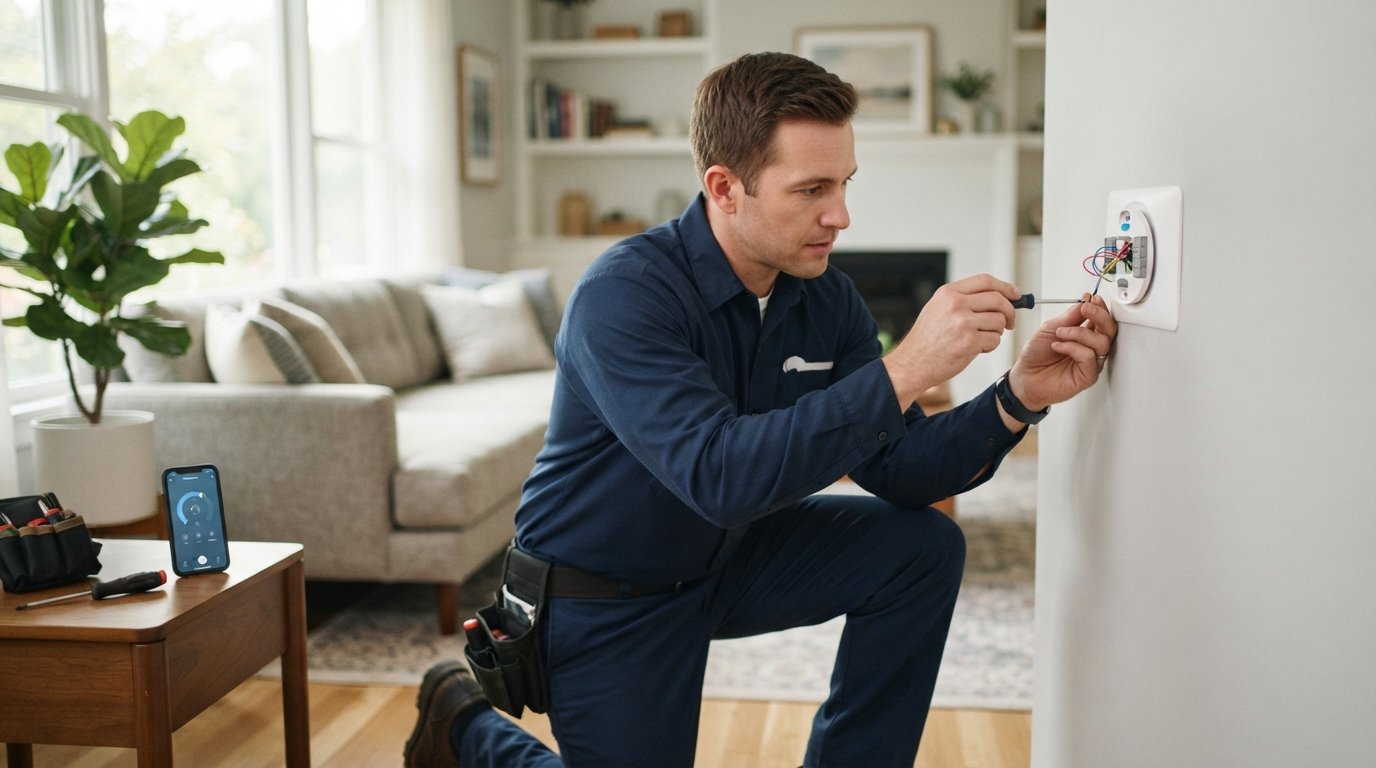
Smart thermostat installation is often marketed as a DIY-friendly project, and for many homeowners with basic wiring confidence, it is. The low-voltage wires involved are safe to handle when the HVAC system is powered off at the breaker. The typical installation involves removing the old thermostat, labeling the wires, mounting the new base plate, connecting the wires to the matching terminals, and snapping the display into place. The entire process takes 30 to 60 minutes for a straightforward system with a C-wire present. Manufacturers provide step-by-step instructions and in-app guidance that walk you through each connection.
However, several situations call for a professional. If your system lacks a C-wire and requires an adapter installed at the air handler, if you have a heat pump with auxiliary or emergency heat, or if your wiring does not match the standard color codes, the risk of miswiring increases. A miswired thermostat can blow a low-voltage fuse or, in rare cases, damage the HVAC control board. For these scenarios, hiring a licensed HVAC technician is the safer and often more cost-effective choice. The same applies if your thermostat location is in a difficult-to-reach spot or if you are uncomfortable working near electrical components. A professional installation typically costs $100 to $250, which is a small price for peace of mind and ensures the device is configured correctly from day one.
If you decide to hire a pro, you can use a platform like Repairmen to find vetted, licensed HVAC technicians in your area. The site connects homeowners with local professionals for thermostat installation and other home system repairs, making it easy to compare quotes and schedule service.
Scheduling and Geofencing Settings That Actually Save Energy
Installing the hardware is only half the battle. The settings you choose determine whether your smart thermostat delivers the promised energy savings. Start with a baseline schedule that reflects your typical weekday and weekend routines. Set back the temperature by 7 to 10 degrees Fahrenheit for eight hours a day, which is the recommendation from Energy Star for optimal savings. For example, if you leave for work at 8 a.m., set the thermostat to scale back at 7:30 a.m. and resume comfort settings 30 minutes before you return home. Avoid extreme setbacks that cause the system to run longer than necessary to recover, especially in heat pump systems, which are more efficient when maintaining a steady temperature.
Geofencing takes scheduling a step further by using your phone's location to trigger away and home modes automatically. When you leave the geofence radius, the thermostat sets back; when you approach, it resumes comfort settings. This is especially useful for households with irregular schedules. To maximize savings, enable geofencing on all adult phones in the household and set the radius appropriately for your commute. Combine geofencing with learning algorithms that adapt to your patterns over time. Most smart thermostats need one to two weeks to learn your routine, so resist the urge to manually override frequently during that period. Once the learning phase is complete, the system will anticipate your comings and goings and adjust without intervention.
Other settings that drive savings include eco-mode thresholds, which balance comfort and efficiency during away periods, and demand-response enrollment, which lets the utility make brief, subtle temperature adjustments during peak events in exchange for bill credits or rebates. Check with your utility provider for available programs. Finally, use the energy usage reports that most smart thermostats provide to identify patterns and fine-tune your schedule. These reports show how much time your system runs and how outdoor temperatures affect consumption, giving you actionable data to optimize further.
Maximizing Long-Term Savings and Avoiding Pitfalls
Smart thermostat installation and energy savings are not a one-time event. To sustain the benefits, keep the device updated with the latest firmware, which often includes efficiency improvements and new features. Clean the thermostat's sensors gently with a dry cloth to prevent dust from interfering with temperature readings. If you have a zoned system, ensure each zone's schedule aligns with actual occupancy. And revisit your settings seasonally: a schedule that works in summer may not be optimal in winter, especially if you use a heat pump with different efficiency curves.
One common pitfall is installing a smart thermostat in a location exposed to direct sunlight, drafts, or heat from appliances. These conditions cause inaccurate readings and lead to excessive cycling. If your current thermostat is near a window or vent, consider relocating it during installation, which may require running new wire. Another pitfall is neglecting to configure the thermostat for your specific system type. For example, a heat pump thermostat set for a conventional furnace will run the auxiliary heat strip unnecessarily, driving up costs. Take the time during setup to select the correct equipment type and configure staging and auxiliary heat lockout settings appropriately.
Finally, pair your smart thermostat with other efficiency upgrades for compounding savings. Sealing air leaks, adding insulation, and maintaining your HVAC system with annual tune-ups all reduce the load on your heating and cooling equipment. A smart thermostat can only optimize what the system delivers; a well-maintained, properly sized HVAC system is the foundation. If you are planning a broader home energy upgrade, 180 Remodel can connect you with contractors for HVAC, insulation, and window projects, ensuring your smart thermostat investment pays off fully.
Upgrading to a smart thermostat is one of the most accessible energy efficiency improvements a homeowner can make. With careful compatibility checks, proper wiring, and thoughtful scheduling, the device will quietly reduce waste and lower your bills month after month. Whether you tackle the installation yourself or bring in a professional, the combination of smart thermostat installation and energy savings makes this a project worth doing right.