
Outdoor Living Space Design on a Limited Budget: Phased Plan
Create your dream yard without breaking the bank. Call (833)-365-8755 for a phased outdoor living space design on a limited budget phased plan.

By Irene Walsh
Learn more about Outdoor Landscaping and Design for guides, costs, and what to expect.
Compare Outdoor Landscaping and Design Pros Near You

Enter your ZIP code to compare top-rated local professionals and request free quotes.
A beautiful backyard does not have to drain your savings in one season. With a thoughtful outdoor living space design on a limited budget phased plan, you can transform your yard into a functional retreat step by step, spreading costs over months or even years while enjoying usable space from day one. The secret lies in sequencing: tackle the elements that add immediate value and usability first, then layer on the aesthetic and comfort features as funds allow. This guide walks you through that process, from hardscape to furnishings, with practical cost-saving strategies and expert tips for getting the most from every dollar.
Why a Phased Plan Beats a Single Lump-Sum Renovation
Attempting to design and build an entire outdoor living area at once often leads to compromises: you might overspend on one feature and cut corners on another, or delay the project indefinitely while saving a large sum. A phased approach lets you prioritize what matters most, test how you actually use the space, and adjust your design as you go. It also aligns with how most homeowners actually fund improvements: through incremental savings, tax refunds, or bonuses rather than a single large loan.
Phasing also reduces risk. If you discover that a particular layout does not work for your family, you can pivot before investing in costly structures. And by spacing out purchases, you can take advantage of seasonal sales on materials and labor. For example, buying hardscape materials in late fall or hiring contractors in early spring when demand is lower can yield significant savings. The key is to plan the entire vision upfront, then break it into logical, self-contained phases that each deliver a usable outcome.
Sequencing Your Phases: Hardscape First, Structures Second, Furnishings Last
The order in which you build your outdoor space matters both for functionality and for cost efficiency. Think of your project like building a house: you would not install furniture before the floors are finished. The same logic applies outdoors. The recommended sequence is hardscape first, then structures, then furnishings and planting. This ensures that each phase builds on the previous one without requiring rework or damage to finished elements.
Phase 1: Hardscape (Patios, Walkways, Retaining Walls)
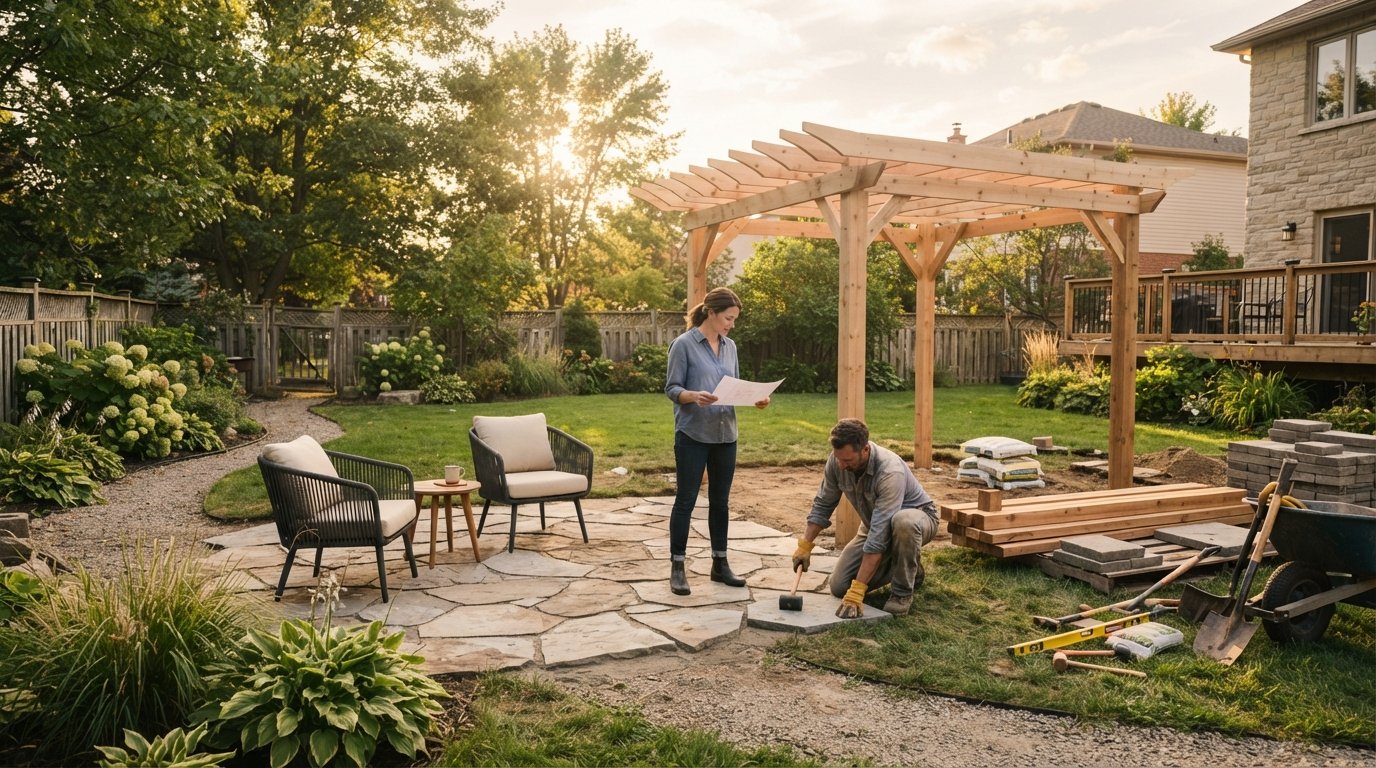
Hardscape forms the foundation of your outdoor living area. A patio provides a stable, level surface for dining and lounging, while walkways connect different zones and improve accessibility. Retaining walls can solve drainage or slope issues and double as seating. Because hardscape is typically the most permanent and disruptive element, it should come first. It also sets the footprint for everything that follows: you will know exactly where to place a pergola, fire pit, or outdoor kitchen. If you are on a tight budget, start with a modest patio using economical materials like concrete pavers or gravel, and expand later.
Phase 2: Structures (Pergolas, Decks, Shade Elements)
Once the hardscape is in place, you can add overhead structures that define the space and provide shade or shelter. A pergola, for instance, can be built over a patio to create a sense of enclosure and support climbing plants. Decks, if your yard slopes or you want to elevate the living area, are best constructed after the patio and walkways are laid out. This phase also includes built-in seating, planters, and privacy screens. Keep in mind that some structures may require permits, so check local regulations before finalizing your designs.
Phase 3: Furnishings, Planting, and Finishing Touches
The final phase is the most flexible and the easiest to adjust over time. Furnishings, outdoor rugs, lighting, and plants can be added gradually as budget allows, and they are the elements that truly make the space feel like an extension of your home. Start with essential seating and a table, then layer in decorative items and greenery. This phase is also where you can add personality through color, texture, and accessories without breaking the bank.
Which Outdoor Elements Add Usable Value Fastest for the Least Spend?
Not all improvements deliver equal value. When funds are limited, focus on elements that immediately increase the usability and enjoyment of your yard. The following features typically offer the best return on investment in terms of both function and cost:
- A simple patio or deck: Even a small 10x10-foot patio provides a defined outdoor room for dining and relaxation. Using budget-friendly materials like concrete pavers or pressure-treated wood keeps costs low.
- Shade structure: A pergola or a large umbrella can extend the usable hours of your outdoor space by providing relief from the sun. A freestanding umbrella is a low-cost entry point.
- Fire pit: A fire pit extends the season into cooler months and serves as a natural gathering point. A simple wood-burning fire pit made from landscape blocks is an affordable DIY project.
- Lighting: String lights or solar path lights add ambiance and safety for evening use without requiring an electrician.
- Container plants: Potted plants add greenery and color instantly, and they can be moved around to suit your needs. They are also far cheaper than installing a full garden bed.
By prioritizing these elements, you create a space that feels complete and functional even before you add more expensive features like outdoor kitchens or water features. Remember that the goal is to enjoy your yard now, not wait years for a perfect vision to materialize.
Cost-Saving Material Substitutions That Still Hold Up Outdoors
Choosing the right materials is critical to keeping your project on budget without sacrificing durability. Many homeowners assume that high-end materials are the only option for a lasting outdoor space, but there are several smart substitutions that offer similar performance at a fraction of the cost.
- Concrete pavers instead of natural stone: Concrete pavers are available in a wide range of colors and textures that mimic stone, and they are more affordable and easier to install. They also resist cracking in freeze-thaw cycles better than some natural stones.
- Pressure-treated pine instead of cedar or composite: For decks and pergolas, pressure-treated pine is a cost-effective choice that can last for decades if properly sealed and maintained. It requires more upkeep than composite but saves significantly upfront.
- Gravel instead of poured concrete: For walkways and low-traffic areas, compacted gravel is an inexpensive, permeable option that adds a rustic charm. It is also easy to install yourself.
- Fabric shade sails instead of a solid roof: If you need shade but have a limited budget, a shade sail made from UV-resistant fabric is a fraction of the cost of a built structure and can be removed seasonally.
- Solar-powered lights instead of wired lighting: Solar lights have improved dramatically in recent years and require no trenching or electrical work, making them a DIY-friendly and energy-saving choice.
These substitutions allow you to allocate funds to other areas, such as professional installation of hardscape or a larger patio. Always verify that the materials you choose are suitable for your climate and intended use.
Permit and HOA Considerations That Affect Phase Order
Before you finalize your phased plan, it is essential to understand the regulatory landscape. Permits and homeowner association (HOA) rules can dictate what you can build, where, and in what order. For example, some municipalities require permits for decks above a certain height, for retaining walls over four feet, or for electrical work. If you plan to add a structure that needs a permit, you may need to sequence it earlier or later depending on the approval timeline.
HOA rules can be even more restrictive, governing everything from the color of your patio to the height of your fence. Review your HOA covenants before purchasing materials or signing contracts. In some cases, you may need to submit architectural plans for approval, which can take weeks. Factor these timelines into your phasing schedule. It is also wise to check whether your planned improvements affect property taxes or insurance, as some structures may increase your home's assessed value.
To avoid costly mistakes, consult with your local building department and HOA early in the planning process. Many contractors, including the landscaping and deck professionals you can connect with through ContractorHomeQuotes, are familiar with local regulations and can guide you through the permit process.
How to Get Phased Quotes from 180 Remodel Landscaping and Deck Pros
One of the biggest advantages of working with a contractor matching service like 180 Remodel is the ability to get multiple quotes for each phase of your project. This allows you to compare prices and choose the best value for your budget. Here is a step-by-step approach to securing phased quotes:
- Define each phase clearly: Break your project into distinct phases (e.g., patio installation, pergola construction, landscaping) and write a detailed scope of work for each. Include dimensions, materials, and any specific requirements.
- Submit your project request: Use 180 Remodel's online form to describe your project. You can submit separate requests for each phase or a combined request that outlines the phased approach. Be transparent about your budget and timeline.
- Review and compare quotes: You will receive quotes from multiple pre-screened contractors. Compare not only the total cost but also the breakdown of labor and materials, warranty terms, and estimated timelines.
- Ask about phase-specific pricing: Some contractors may offer a discount if you bundle phases or schedule them sequentially. Inquire about any cost savings for committing to multiple phases.
- Schedule work strategically: Once you have selected contractors, coordinate the timing so that each phase is completed before the next begins. This prevents damage to finished work and ensures a smooth progression.
By getting phased quotes, you maintain control over your budget and can adjust the scope of later phases based on actual costs from earlier ones. For more ideas on how outdoor improvements can increase your property value, see our guide on designing outdoor living spaces that boost home value.
With a clear phased plan, you can create an outdoor living space that grows with your budget and your needs. Start with the essentials, choose cost-effective materials, and work with trusted professionals to bring your vision to life one step at a time. Call (833)-365-8755 to get started.