
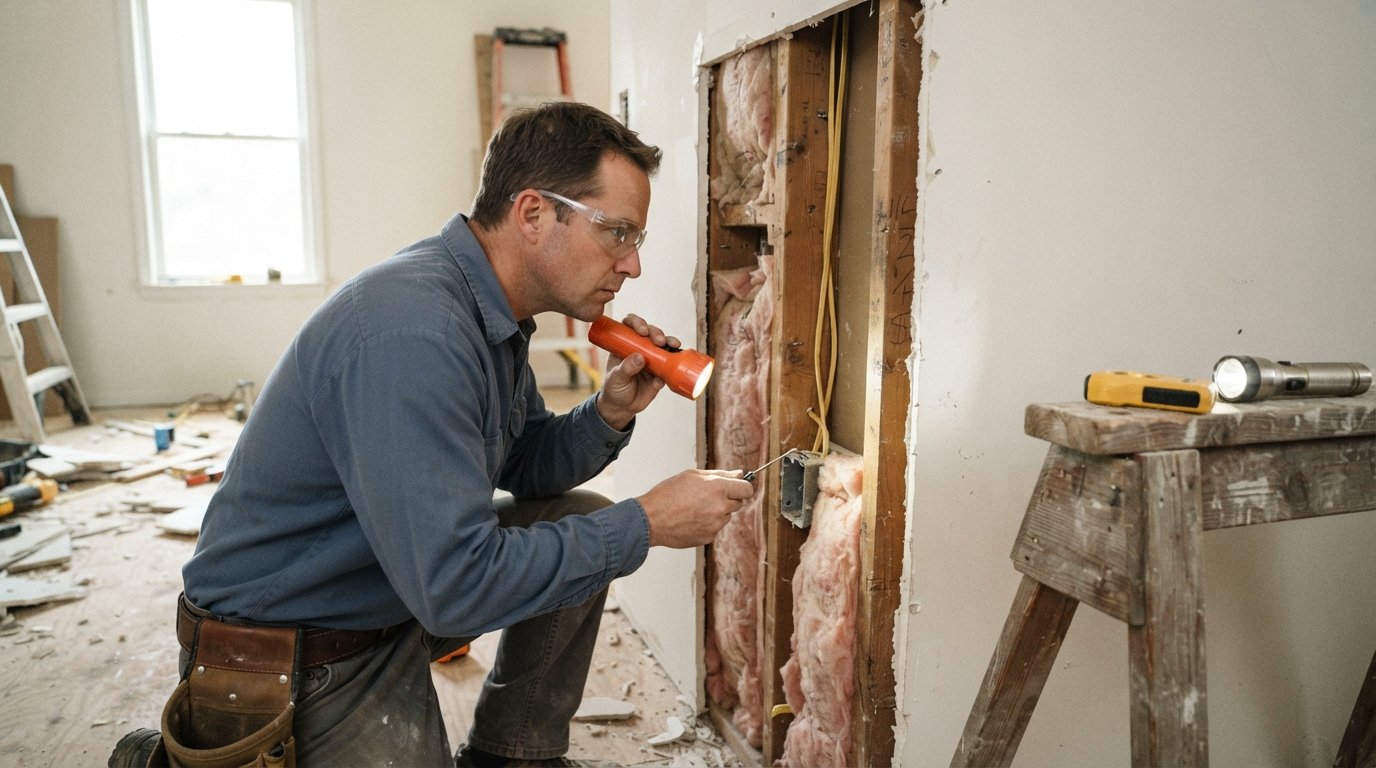
Wall Voids: Hidden Spaces That Affect Your Home
Wall voids can quietly drive up energy bills and invite moisture. Call (833)-365-8755 to connect with trusted contractors who seal and repair them.

By Alex Carter
Learn more about Insulation Installation or Upgrade for guides, costs, and what to expect.
Compare Insulation Installation or Upgrade Pros Near You

Enter your ZIP code to compare top-rated local professionals and request free quotes.
Every home has secrets tucked behind the drywall, and some of the most consequential ones are empty pockets known as wall voids. These hidden cavities between studs, above ceilings, and behind cabinets can influence everything from your energy bills to the structural integrity of your house. If you have ever noticed a drafty room, a mysterious musty smell, or a section of wall that sounds hollow when you knock, a wall void may be the culprit. Understanding what wall voids are, how they form, and what to do about them is essential for any homeowner planning a renovation or dealing with persistent comfort issues.
What Are Wall Voids and Why Do They Matter?
Wall voids are the unfilled spaces inside your home's framing. In standard wood-frame construction, the area between two studs, behind the drywall, and in front of the exterior sheathing is a void. Some of these voids are intentionally filled with insulation, wiring, or plumbing, but many remain empty. In older homes, wall voids often contain nothing but air and perhaps a few forgotten construction scraps. While a small amount of empty space is normal, large or improperly sealed voids can become pathways for air leakage, moisture intrusion, and even pest infestation.
The reason wall voids matter so much is that they disrupt the building envelope. A well-sealed home should have a continuous barrier between the conditioned interior and the unconditioned exterior. When voids exist, they create breaks in that barrier. During winter, warm indoor air escapes into the void and cools, potentially causing condensation inside the wall cavity. During summer, hot humid air from outside can enter the void and migrate into your living space. Over time, these cycles can lead to mold growth, wood rot, and higher energy consumption.
Beyond energy and moisture, wall voids also affect how your home feels and sounds. A hollow wall transmits sound more readily than a solid one, so rooms adjacent to large voids may be noisier. Knocking on a wall to find a stud is a common practice, but if most of the wall sounds hollow, you may have extensive voids that could be addressed during a renovation. In some cases, wall voids are created intentionally for plumbing chases or HVAC ductwork, but these should be properly sealed and insulated to prevent problems.
Common Causes of Wall Voids
Wall voids can originate from a variety of sources, ranging from original construction practices to later modifications. In older homes, builders often left large cavities without insulation, especially in interior walls. Even in newer construction, voids can form around electrical boxes, plumbing penetrations, and recessed lighting. When these openings are not sealed with foam or caulk, they become tiny chimneys that allow air to move freely through the wall assembly.
Renovations are another major cause. When a previous homeowner removed a wall, added a room, or rerouted ductwork, they may have left behind empty chases or unsealed framing cavities. Similarly, if a contractor installed new windows or doors without properly insulating the rough openings, the gaps around them can function as wall voids. Water damage is yet another factor: a slow leak can deteriorate insulation and create empty pockets where material has disintegrated, leaving behind a void that invites further moisture problems.
Identifying the source of a wall void is the first step toward fixing it. In our guide on Wall Voids Repair Causes and Contractor Assessment Guide, we explain how to trace the origin of voids and when to call a professional for an assessment. A thorough evaluation often involves thermal imaging, moisture meters, and a careful visual inspection of accessible areas such as attics and basements.
How Wall Voids Affect Energy Efficiency and Comfort
One of the most immediate signs of a wall void problem is a room that never feels quite comfortable. You might notice cold spots near exterior walls in winter or warm, sticky air in summer. These discomforts are often caused by air infiltration through unsealed voids. According to the U.S. Department of Energy, air leakage can account for up to 30 percent of a home's heating and cooling costs. When voids allow unconditioned air to enter, your HVAC system has to work harder to maintain the thermostat setting, driving up utility bills.
Wall voids also compromise the effectiveness of your insulation. Even if you have fiberglass batts or blown-in insulation, gaps and voids reduce the overall R-value of the wall assembly. Insulation works by trapping air in small pockets; if there is a large empty space next to it, that space can convect heat, undermining the insulation's performance. In some cases, the void itself becomes a channel for air movement, bypassing the insulation entirely. This is why energy auditors often recommend air sealing before adding more insulation.
To improve energy efficiency, homeowners should consider sealing and insulating wall voids as part of a broader weatherization plan. Simple measures include using expanding foam to seal gaps around pipes and wires, installing foam gaskets behind outlet covers, and adding insulation to rim joists and attic knee walls. For more extensive voids, a professional contractor can inject spray foam or dense-pack cellulose into the cavity to eliminate the empty space and create a seamless thermal barrier.
Moisture, Mold, and Structural Risks
Moisture is perhaps the most insidious consequence of unmanaged wall voids. When warm, moist air enters a void and meets a cooler surface, condensation forms. Over time, this moisture can soak into drywall, framing lumber, and insulation, creating an environment ripe for mold growth. Mold not only damages building materials but can also affect indoor air quality and trigger allergies or respiratory issues.
In severe cases, prolonged moisture exposure can lead to wood rot and structural deterioration. If a void is adjacent to exterior sheathing, water can enter from outside as well, especially if the exterior cladding or flashing is compromised. The combination of internal condensation and external leaks can rapidly degrade the wall assembly. Homeowners should be alert for signs such as peeling paint, bubbling drywall, musty odors, or visible mold growth near baseboards and ceilings.
Preventing moisture problems starts with sealing voids and ensuring proper ventilation. Bathrooms and kitchens should have exhaust fans that vent to the exterior, not into the attic or wall cavity. Dryer vents should be inspected for leaks. If you suspect a wall void is already wet, it is important to dry it out and address the source of moisture before sealing it up. A contractor can assess the extent of the damage and recommend the best repair strategy.
Wall Voids and Pest Infestations
Empty wall voids provide ideal harborage for pests. Mice, rats, insects, and even birds can enter through small gaps and find their way into the wall cavity. Once inside, they can nest, breed, and travel throughout the home using the voids as highways. Signs of a pest infestation include scratching sounds at night, droppings in cabinets or along baseboards, and visible entry points such as gnawed holes or cracked siding.
Pests in wall voids are more than a nuisance; they can introduce allergens, contaminate food, and cause structural damage by chewing on wires and insulation. In some cases, rodents have been known to gnaw on electrical wiring, creating a fire hazard. If you suspect pests are using wall voids, it is best to call a licensed pest control professional who can safely remove them and seal entry points. After removal, any damaged insulation or debris should be cleaned out and the void properly sealed to prevent re-infestation.
To reduce the risk of pests entering wall voids, homeowners should perform regular exterior maintenance. Seal cracks in the foundation, repair torn screens, install door sweeps, and trim tree branches away from the roofline. During a renovation, take the opportunity to inspect wall cavities for existing pest activity and address any vulnerabilities before closing up the walls.
Assessing and Repairing Wall Voids: A Step-by-Step Approach
If you suspect your home has problematic wall voids, a systematic approach will help you address them effectively. The first step is a visual inspection. Walk through your home and look for gaps around pipes, wires, and outlets, especially on exterior walls. Check the attic and basement for unsealed penetrations. Use a flashlight to peer into accessible cavities. A simple test is to hold a lit incense stick near suspected leaks on a windy day; if the smoke wavers, you have found an air leak.
For a more thorough assessment, consider hiring a professional energy auditor or contractor. They can use tools like thermal imaging cameras, blower doors, and moisture meters to identify hidden voids and quantify air leakage. This data is invaluable for planning repairs and prioritizing improvements. A contractor can also determine whether a void is structural (e.g., a missing load-bearing element) or simply an energy and moisture issue.
Once voids are identified, the repair strategy depends on their location and cause. Here is a general sequence that professionals often follow:
- Air sealing: Use expanding foam, caulk, or rigid foam board to seal gaps around pipes, wires, and framing joints. Pay special attention to top plates, bottom plates, and penetrations.
- Insulation: Fill large voids with spray foam, dense-pack cellulose, or fiberglass batts. Ensure the insulation completely fills the cavity without compressing it.
- Vapor barrier: In some climates, a vapor retarder may be needed to prevent moisture migration. Consult a professional to determine the right approach for your region.
- Moisture remediation: If mold or rot is present, remove and replace damaged materials, treat the area with a mold inhibitor, and fix the source of moisture.
- Pest exclusion: Seal entry points with hardware cloth, caulk, or foam, and remove any nesting material.
After repairs, it is important to verify that the work has been effective. A follow-up energy audit or a simple visual inspection can confirm that voids are filled and sealed. Keep records of the work for future reference, especially if you plan to sell your home. Proper documentation can be a selling point, demonstrating that the home has been well-maintained.
When to Call a Professional Contractor
While some minor air sealing is a DIY-friendly task, extensive wall void remediation often requires a professional touch. If you are dealing with large voids, suspected structural issues, mold, or pest infestations, it is wise to bring in a qualified contractor. A professional can safely navigate electrical wiring, plumbing, and structural elements, ensuring that repairs are done correctly and up to code.
Choosing the right contractor is crucial. Look for one who is licensed, insured, and experienced in building envelope repairs. Ask for references and examples of similar projects. A good contractor will provide a detailed estimate, explain the scope of work, and offer options for materials and methods. They should also be willing to coordinate with other trades if needed, such as an electrician or pest control specialist.
At 180 Remodel, we connect homeowners with a network of vetted contractors who specialize in all aspects of home improvement, including wall void repair, insulation, and moisture control. Our free service matches you with local professionals who can assess your situation and provide competitive quotes. Whether you are planning a full renovation or simply want to improve energy efficiency, our platform makes it easy to find the right expert for the job. You can also explore resources like contractor home quotes to compare pricing and make informed decisions.
Wall Voids in Renovation Planning
If you are planning a renovation, wall voids present both challenges and opportunities. On the challenge side, opening up walls may reveal unexpected voids that need to be addressed before new drywall goes up. This can add time and cost to the project, but it is better to fix these issues while the walls are open. On the opportunity side, a renovation is the perfect time to seal and insulate voids, upgrade wiring, and improve the overall performance of your home.
During the design phase, discuss wall void remediation with your contractor. Ask whether they will inspect cavities for air leaks and moisture before closing them up. Ensure that any new construction includes proper air sealing and insulation details. For example, when adding a new room, specify that all penetrations be sealed and that insulation fill all cavities completely. These small details can have a big impact on comfort and energy bills.
If you are remodeling a kitchen or bathroom, pay special attention to plumbing walls. These often contain large voids for pipes, and they can be major sources of air leakage. Request that your contractor seal around pipe penetrations with foam or caulk and insulate the cavity if possible. Similarly, when installing new windows or doors, ensure that the rough openings are properly insulated and sealed.
DIY Tips for Homeowners
Homeowners can take several proactive steps to manage wall voids without extensive professional help. Start by identifying obvious air leaks around outlets, switches, and trim. Remove outlet covers and use foam gaskets to seal the gaps. Apply caulk around baseboards and window frames. For larger gaps, use expanding foam, but be careful not to overfill, as it can bow drywall.
Another DIY-friendly task is to insulate rim joists in the basement. Rim joists are a common source of air leakage and can be sealed with rigid foam board and spray foam. Always follow safety guidelines, wear protective gear, and avoid disturbing materials that may contain asbestos (common in older homes). If you are unsure about the safety of a material, consult a professional before proceeding.
Finally, keep an eye out for signs of moisture and pests. Fix leaky pipes promptly, ensure proper ventilation, and seal exterior cracks. These simple habits can prevent small voids from becoming big problems. And if you ever feel overwhelmed, remember that 180 Remodel is here to help you find qualified contractors who can handle the job safely and efficiently.
Wall voids may be hidden from view, but their impact on your home's comfort, efficiency, and durability is undeniable. By understanding what they are and how to address them, you can protect your investment and enjoy a healthier, more comfortable living space. Whether you are tackling a small sealing project or planning a major renovation, taking wall voids seriously will pay off in the long run.
Learn more about Insulation Installation or Upgrade for guides, costs, and what to expect.
Compare Insulation Installation or Upgrade Pros Near You
Enter your ZIP code to compare top-rated local professionals and request free quotes.