
Water Heater Replacement Timeline and Disposal Guide
Understand the water heater replacement timeline and disposal process, from permits to haul-away. Call (833)-365-8755 to get matched with vetted pros.

By Jackson Adams
Learn more about Water Heater Installation or Replacement for guides, costs, and what to expect.
Compare Water Heater Installation or Replacement Pros Near You

Enter your ZIP code to compare top-rated local professionals and request free quotes.
A failing water heater rarely announces itself politely. You might step into a cold shower on a Tuesday morning, notice rust-colored water pooling near the base of the tank, or hear a low rumbling that sounds less like background noise and more like a warning. When that moment arrives, two questions dominate: how long will this take, and what happens to the old unit? Understanding the water heater replacement timeline and disposal process removes the guesswork, protects your budget, and helps you coordinate with a licensed plumber without wasting days on confusion.
The average homeowner replaces a water heater once every eight to twelve years, which means most people have little memory of how the last installation went. Tank styles, fuel types, local codes, and permit requirements have all evolved. This guide walks through each phase, from the first sign of trouble to the final haul-away, so you can plan your schedule and avoid surprise fees.
Recognizing When Replacement Cannot Wait
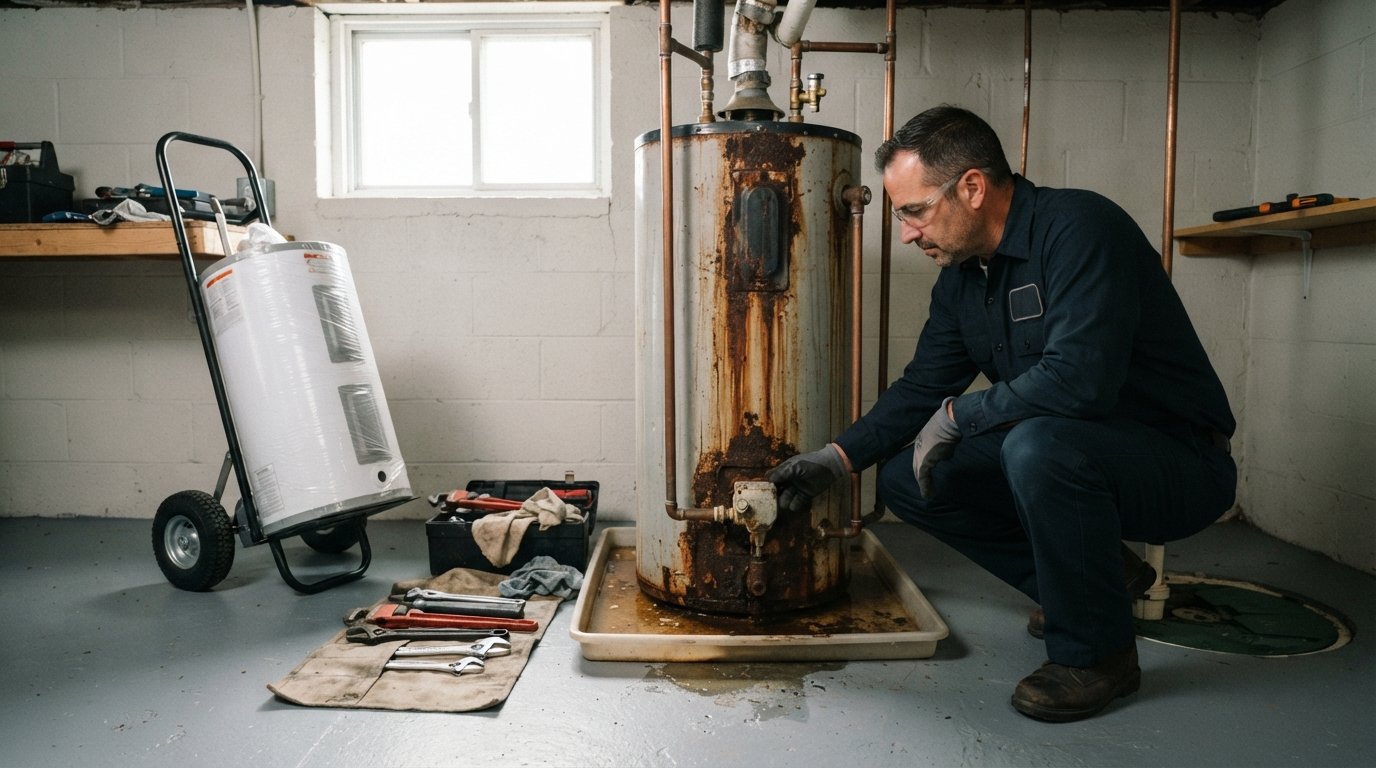
Not every problem demands a new tank. A faulty thermostat, a worn heating element, or a broken dip tube can often be repaired for a fraction of replacement cost. However, certain symptoms signal that the unit has reached the end of its service life and will soon fail completely. In our guide on water heater replacement signs for homeowners, we break down the difference between repairable issues and terminal failure, but the short version is this: leaking tanks, corrosion, and inconsistent hot water that persists after repairs almost always point to replacement.
Age matters too. A tank that has crossed the ten-year mark is living on borrowed time. Even if it still produces hot water, the anode rod inside has likely dissolved, leaving the steel shell exposed to rust from the inside out. When the tank finally gives way, it can release forty to eighty gallons of water into your home, damaging flooring, drywall, and personal belongings. Proactive replacement avoids that emergency scenario and gives you time to compare quotes rather than accepting the first available plumber at premium rates.
Here are the most common indicators that replacement is the smarter path:
- Visible rust or corrosion on the tank body or fittings
- Water pooling around the base, even a small amount
- Rumbling or popping sounds from sediment buildup
- Hot water that runs out faster than it used to
- Age exceeding ten years with rising energy bills
If you notice any of these signs, start gathering information immediately. Delaying a replacement does not make the problem cheaper. It simply shifts the cost to an emergency call, which typically adds a premium of several hundred dollars and limits your choice of contractors.
The Standard Water Heater Replacement Timeline
For a straightforward swap of a like-for-like tank, most licensed plumbers complete the job in two to four hours. That estimate assumes the new unit fits the existing space, the fuel source and venting remain unchanged, and no hidden code violations surface during inspection. Larger replacements, fuel conversions, or relocations push the timeline to a full day or longer. Understanding each phase helps you set realistic expectations and coordinate around work or family schedules.
The process generally unfolds in five stages. First comes the assessment and quote, which may happen the same day you call or within a day or two. Second, the plumber obtains any required permits, a step that can add one to three business days depending on your municipality. Third, the old unit is drained and disconnected, a task that takes thirty to sixty minutes. Fourth, the new tank is positioned, connected, and filled, which runs one to two hours. Fifth, the system is tested, and the old tank is removed from your property.
Permit timelines vary widely. Some jurisdictions issue same-day approvals online, while others require an in-person inspection before and after installation. If your plumber handles permits as part of the job, ask how long that step typically takes in your area. A good contractor will build that waiting period into the schedule rather than promising same-day completion and then stalling.
Factors That Extend or Shorten the Project
Several variables influence how quickly your replacement wraps up. The most common delay involves code compliance. Older homes often have venting, electrical connections, or pressure relief valves that no longer meet current standards. Bringing those components up to code adds time and cost, but skipping them creates safety hazards and can void your homeowner insurance coverage.
Fuel type also plays a role. Electric replacements tend to move faster because there is no gas line to disconnect, no venting to reconfigure, and no combustion air requirements to verify. Gas units require a licensed plumber to check for leaks, confirm proper venting, and ensure the flue meets local codes. Tankless installations introduce additional complexity, including upgraded gas lines, electrical outlets for ignition, and condensate drainage, which can stretch the project to a full day or more.
Accessibility is another factor homeowners overlook. A tank tucked into a tight closet, behind finished walls, or in a crawlspace takes longer to remove and replace than one sitting in an open garage. If the old unit must be disassembled to fit through a doorway, expect additional labor charges. Similarly, if the new tank is larger than the old one, the plumber may need to modify framing, shelving, or piping to make it fit.
The following conditions typically add time to the job:
- Upgrading from a tank to a tankless system
- Converting from electric to gas or vice versa
- Replacing a unit in a cramped or obstructed location
- Addressing corroded pipes or outdated shutoff valves
- Waiting on permit approval or inspection scheduling
Conversely, a simple swap in an accessible location with matching fuel type and existing code-compliant connections is the fastest scenario. If your current setup meets all requirements, the plumber can often complete the job in under three hours.
What Happens to the Old Water Heater
Disposal is one of the most common questions homeowners ask, and the answer depends on who performs the installation. Most professional plumbers include haul-away in their quoted price. They drain the tank, disconnect it, and load it onto their truck for proper disposal or recycling. This service saves you the hassle of transporting a heavy, awkward appliance and ensures the unit does not end up illegally dumped.
Water heaters are largely recyclable. The steel tank, copper fittings, and brass valves all have scrap value. Many municipalities operate household hazardous waste facilities that accept appliances, though some charge a fee. Scrap yards may accept the unit for free or even pay a small amount for the metal. However, the internal components, including foam insulation and plastic liners, often require special handling.
If you choose to dispose of the tank yourself, plan ahead. A standard residential water heater weighs between 100 and 150 pounds when empty, and it remains bulky and difficult to maneuver. You will need a dolly, a truck or trailer, and a willing helper. Before loading it, confirm that your disposal site accepts water heaters and ask about any fees. Some retailers offer haul-away when you purchase a new unit, but that service usually applies only if they handle the installation.
Proper disposal matters for more than convenience. Many states prohibit placing appliances in regular trash collection because of the refrigerant, foam, or other materials inside. Illegal dumping can result in fines, and improper handling can release harmful substances into the environment. When you hire a licensed professional through a vetted network like PlanRemodel, you can confirm upfront whether haul-away is included and how the old unit will be processed.
Coordinating Replacement With a Contractor
The smoothest replacements happen when homeowners prepare in advance. Before the plumber arrives, clear the area around the old tank. Move boxes, tools, and stored items out of the way. If the unit sits in a closet, empty the closet completely. Ensure the plumber has a clear path from the door to the installation site. These small steps shave time off the job and reduce the risk of damage to your belongings.
Confirm the scope of work in writing before installation day. The quote should specify the new unit model, fuel type, capacity, warranty terms, permit handling, and disposal. Ask whether the price includes any necessary code upgrades or if those are billed separately. A transparent contractor will itemize potential extras so you can budget accordingly.
Schedule the replacement for a day when someone can be home. While the plumber works, you may need to answer questions, provide access to the main water shutoff, or approve unexpected repairs. Plan to be without hot water for several hours, and if the job extends into the evening, make alternate arrangements for showers.
After installation, the plumber should walk you through the new system. Ask about the warranty registration process, recommended maintenance schedule, and any settings you should adjust. Proper maintenance, including annual flushing and periodic anode rod inspection, extends the life of your new tank and protects your investment.
Costs and Budgeting Considerations
The total cost of a water heater replacement depends on the unit itself, labor rates, permits, and any necessary upgrades. A standard forty-gallon gas tank typically ranges from $800 to $1,500 installed, while electric models fall in a similar range. Tankless units cost more upfront, often $2,500 to $4,500 installed, but they offer longer lifespans and lower energy bills over time.
Emergency replacements cost more. If your tank fails on a weekend or holiday, expect to pay a premium for after-hours service. Planning ahead and replacing proactively avoids that surcharge. It also gives you time to compare quotes from multiple contractors, which can save hundreds of dollars on the same job.
Do not overlook the value of proper permitting and inspection. A permit ensures the work meets local safety codes and that the installation is recorded for future home sales. Unpermitted work can complicate a real estate transaction and may void insurance claims if a leak or fire occurs later. The small upfront cost of a permit protects you from significant liability down the road.
Preventing Future Problems
Once your new water heater is in place, a few simple habits extend its life and efficiency. Flush the tank annually to remove sediment, which improves heating performance and reduces strain on the unit. Test the pressure relief valve once a year to confirm it opens and closes properly. Check the anode rod every two to three years and replace it when it shows significant corrosion.
Keep the area around the tank clean and dry. Moisture accelerates rust and can indicate a slow leak. If you notice any signs of trouble, address them immediately rather than waiting for a complete failure. A proactive approach saves money, avoids emergency calls, and keeps hot water flowing when you need it most.
Understanding the water heater replacement timeline and disposal process empowers you to plan, budget, and hire with confidence. Whether you are replacing a failed unit today or preparing for a future upgrade, the right preparation makes the project faster, cleaner, and less stressful.