
Water Damage Restoration Step by Step for Homeowners
Follow a clear water damage restoration step by step for homeowners, from shutoff to drying and repairs. Call (833)-365-8755 for contractor help.

Learn more about Water Damage Cleanup and Restoration for guides, costs, and what to expect.
Compare Water Damage Cleanup and Restoration Pros Near You

Enter your ZIP code to compare top-rated local professionals and request free quotes.
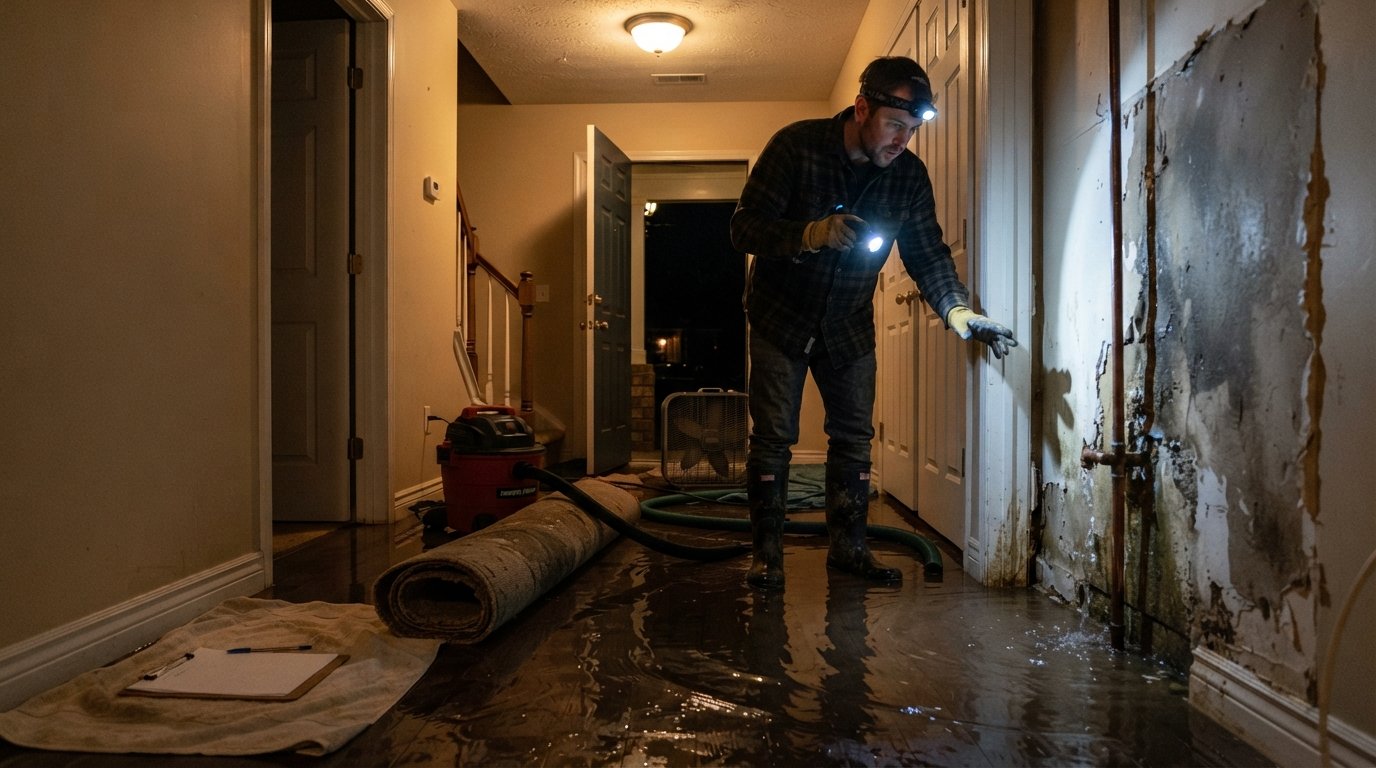
Standing water in your hallway at 2 a.m. is not just a plumbing problem. It is a race against time. Every minute that water sits in your walls, subfloor, and insulation increases the chance of mold growth, structural rot, and a denied or reduced insurance claim. The difference between a manageable repair and a five-figure reconstruction often comes down to what you do in the first few hours, and how carefully you document every step. This guide gives you a clear, ordered plan for water damage restoration step by step for homeowners, from the moment you discover the leak to the day the last baseboard is repainted.
First 24 Hours: Shutoff, Safety, and Documentation
The first 24 hours after a leak or flood are the most important. Your goals are simple: stop the water, stay safe, and create a record that will support your insurance claim. Do not start ripping out carpet or drilling holes in drywall before you have completed these three tasks. The order matters.
First, stop the source. If the water is coming from a burst pipe, a failed supply line, or an overflowing appliance, shut off the main water valve immediately. If the water is from a sewer backup or an outdoor flood, do not enter standing water that may be contaminated. Turn off electricity at the breaker panel only if you can reach it without stepping in water. If the panel is in a flooded area, call an electrician and wait. Once the source is controlled, open windows and doors for ventilation, and move furniture and rugs off wet flooring to limit secondary damage.
Second, document everything before you move or discard anything. Take wide photos of each affected room, then close-ups of the water line on walls, damaged furniture, and appliances. Record video walkthroughs with narration. Your insurance adjuster will rely on this evidence, and many policies require proof of damage before cleanup begins. Keep a written log of the date, time, and cause of the loss, plus every phone call and receipt.
Third, run safety checks. Water and electricity are a dangerous combination, and hidden moisture can compromise drywall ceilings. Watch for sagging ceilings, bubbling paint, and a burning smell. If you smell gas or see sparking, evacuate and call emergency services. For clean-water losses, you can begin extracting water with a wet/dry vacuum or towels while you wait for a professional. For gray or black water (toilet overflow, sewage, or outdoor flooding), wear gloves and boots, and leave extraction to a certified restoration crew.
If you are planning a larger renovation after the restoration is complete, it helps to understand how to plan a home renovation step by step so that repair decisions align with your long-term budget and design goals.
Drying Equipment, Moisture Readings, and When Walls Must Be Opened
Water damage restoration is not about pointing a fan at a wet carpet. It is a science of measuring moisture and drying materials to a safe threshold before mold can establish itself. Professional restorers use three tools you should ask about: moisture meters (pin and pinless), thermal imaging cameras, and hygrometers. These tools reveal water trapped behind baseboards, under hardwood, and inside wall cavities where your eyes cannot see.
The standard equipment setup includes high-velocity air movers, industrial dehumidifiers, and sometimes negative air machines to contain dust and spores. Air movers evaporate moisture from surfaces, and dehumidifiers pull that moisture out of the air. Without dehumidification, you are simply moving water from the floor into the air and back again. Drying a typical room can take three to five days, and the equipment must run continuously. Expect noise, heat, and higher electricity bills during this period.
When must walls be opened? The answer depends on moisture readings and the category of water. As a rule of thumb, if drywall has been wet for more than 24 to 48 hours, if the water was contaminated, or if a moisture meter reads above 16 to 20 percent on drywall or wood framing, the affected section of drywall should be cut out. This is called a flood cut, typically made 12 to 24 inches above the water line. Opening the wall allows air to reach the studs and insulation, prevents mold from growing inside the cavity, and lets the restorer verify that the framing is dry. Homeowners often resist this step because it looks destructive, but leaving wet drywall in place is far more expensive later.
Here is a simple decision framework restorers use to decide how aggressive the drying plan should be:
- Category 1 (clean water) from a supply line or rain: dry in place if materials are caught within 24 hours and readings are stable.
- Category 2 (gray water) from a washing machine or toilet (no feces): remove carpet and pad, cut drywall if wet for more than 48 hours.
- Category 3 (black water) from sewage or outdoor flooding: remove all porous materials, flood cut walls, and disinfect framing.
- Class 4 (deeply trapped moisture) in hardwood, concrete, or plaster: extended drying with specialty mats and desiccant dehumidifiers.
Ask your restoration contractor for daily moisture readings and a drying log. A reputable crew will document readings at each visit and will not remove equipment until materials reach dry standard. If a contractor cannot explain the readings or wants to skip the dehumidifier, find another contractor. You can also use a contractor matching service to compare vetted restoration and remodeling professionals in your area.
Insurance Claim Paperwork and Contractor Documentation Standards
Most homeowners insurance policies cover sudden and accidental water damage, such as a burst pipe or appliance failure, but exclude long-term leaks and maintenance neglect. The claim process rewards preparation. Call your insurer as soon as the source is controlled, and ask two questions: whether you have a preferred restoration vendor, and what documentation they require. Some insurers will send an adjuster within 24 to 48 hours; others will ask you to submit photos and an inventory first.
Your claim file should include the following items, organized in a folder or cloud drive:
- Photos and video of all damage before cleanup, plus dated photos each day of drying.
- A room-by-room inventory of damaged items with purchase dates, receipts, and replacement costs where available.
- Receipts for emergency purchases (fans, dehumidifier rental, hotel stays) and a log of any temporary repairs.
- The restoration contractor's scope of work, moisture readings, drying log, and final invoice.
- Correspondence with your adjuster, including claim number and names of everyone you speak with.
Contractor documentation standards matter because adjusters pay based on evidence, not estimates. A professional water damage restoration company will provide an itemized scope using industry-standard pricing (often Xactimate), photos of every affected area, moisture maps, and a certificate of completion showing that materials reached dry standard. If your contractor only hands you a handwritten invoice, your claim may be delayed or reduced. Before hiring anyone, verify licensing, insurance, and experience with water damage, and get at least two written estimates when time allows.
Be cautious with contractors who demand full payment upfront or who show up uninvited after a storm. Reputable firms typically require a deposit and bill the balance after work is complete or after insurance payment. Keep communication in writing, and never sign a contract that assigns your insurance benefits without reading it carefully. If you need help finding qualified local professionals for repairs after the drying phase, a directory such as Homes.Contractors can connect you with pre-vetted contractors for roofing, flooring, plumbing, and more.
Mold Prevention Timelines and Testing After Drying
Mold spores are everywhere, but they need moisture to grow. In ideal conditions, mold can begin growing on wet drywall and wood within 24 to 48 hours. That timeline is why rapid drying is not optional. Once materials are dry (typically within three to five days with professional equipment), mold growth is unlikely, but it is not impossible if humidity stays high or if water was trapped in a wall cavity.
Prevention steps during and after drying include keeping indoor humidity below 50 percent, running dehumidifiers in basements and crawl spaces, fixing the original leak source, and removing wet insulation and cardboard that cannot be dried. Do not paint over stained drywall or install new flooring until moisture readings confirm the substrate is dry. If you notice a musty smell, discoloration, or allergy symptoms after drying, consider testing. DIY mold test kits are inexpensive but unreliable; a licensed mold assessor can take air and surface samples and provide a lab report. Testing is especially important if the water was Category 2 or 3, or if anyone in the home has asthma or a compromised immune system.
Repair Scope from Drywall to Flooring Once Structure Is Dry
Once the structure is dry and any mold concerns are addressed, the restoration phase becomes a remodeling project. The scope depends on what was removed. Typical repairs include replacing flood-cut drywall, installing new insulation, patching and painting, replacing baseboards and trim, and restoring flooring. Hardwood floors may be sanded and refinished if cupping is minor, but severe warping usually requires replacement. Carpet and pad are almost always replaced after water damage. Vinyl plank and tile may be salvageable if the subfloor is dry and intact.
This is also the moment to correct the cause of the damage. If a supply line failed, replace it with a braided stainless steel line. If the water heater leaked, consider a new unit with a drip pan and alarm. If grading sends water into the basement, fix drainage before finishing the space. Homeowners planning to upgrade while walls are open often combine restoration with insulation improvements or bathroom remodeling, which can be more cost-effective than doing the work twice.
Finally, keep your documentation until the claim is closed and the repairs are inspected. Walk through each repaired room with the contractor, confirm that moisture readings are normal, and test appliances and fixtures. A successful water damage restoration ends with a dry, mold-free structure and a paper trail that supports your insurance recovery. If you are unsure where to start with repairs, contact a trusted contractor network to get quotes and compare options before you commit.
Water damage is stressful, but it is manageable when you follow a clear order: stop the water, document the damage, dry with measured equipment, file a complete claim, prevent mold, and repair only after the structure is dry. Homeowners who act quickly and keep good records consistently recover more of their costs and avoid the hidden damage that shows up months later.