
Sump Pump Discharge and Basement Waterproofing Checklist
Use this sump pump discharge and basement waterproofing checklist to protect your home. Call (833)-365-8755 for expert contractor matching and free quotes.

By Rachel Green
Learn more about Home Waterproofing for guides, costs, and what to expect.
Compare Home Waterproofing Pros Near You

Enter your ZIP code to compare top-rated local professionals and request free quotes.
A wet basement is more than an inconvenience: it can undermine your foundation, ruin stored belongings, and create a breeding ground for mold. Homeowners often focus on the pump itself, but the system that carries water away from your home is just as critical. If you are preparing for storm season or dealing with a damp space, this sump pump discharge and basement waterproofing checklist will help you verify that your drainage setup is ready for whatever the weather brings. We will walk through where your discharge line should drain, how to test the pump and its backup, interior sealing options, and the outdoor grading signs that often reveal the root cause of water intrusion.
Sump Pump Discharge and Basement Waterproofing Checklist: Where Should the Water Go?
The discharge line is the unsung hero of your sump system. It carries water from the pit to a safe location away from your foundation. If it dumps water too close to the house or into a spot where it can pool, you are essentially recycling the same water back into your basement. The first step in any sump pump discharge and basement waterproofing checklist is confirming that the outlet is properly located and compliant with local rules.
Ideally, the discharge line should terminate at least 10 to 20 feet from your foundation, on a downward slope, and in an area that drains away from the house. Never direct it into a neighbor's yard, a sidewalk, or a septic system. Many municipalities have specific requirements: some prohibit discharging into the sanitary sewer, while others require a dry well or a rain garden. Check with your local building department or homeowners association before making changes. If you are unsure about the best setup, a professional can help you design a compliant and effective discharge path. For a broader look at seasonal home maintenance, see our roofing maintenance checklist.
Once you know the rules, inspect the entire line for common problems. A crushed or clogged pipe can cause the pump to work harder and eventually fail. Look for signs of freezing in winter, sagging sections that trap water, and any disconnected joints. The discharge line should be pitched so that water flows out completely and does not sit in the pipe. If your line runs underground, consider a freeze-proof design or a removable section for winter. Also verify that the line is not tied into a downspout or floor drain without proper backflow prevention, as that can lead to water backing up into your basement.
Testing Your Pump, Float, and Backup Battery
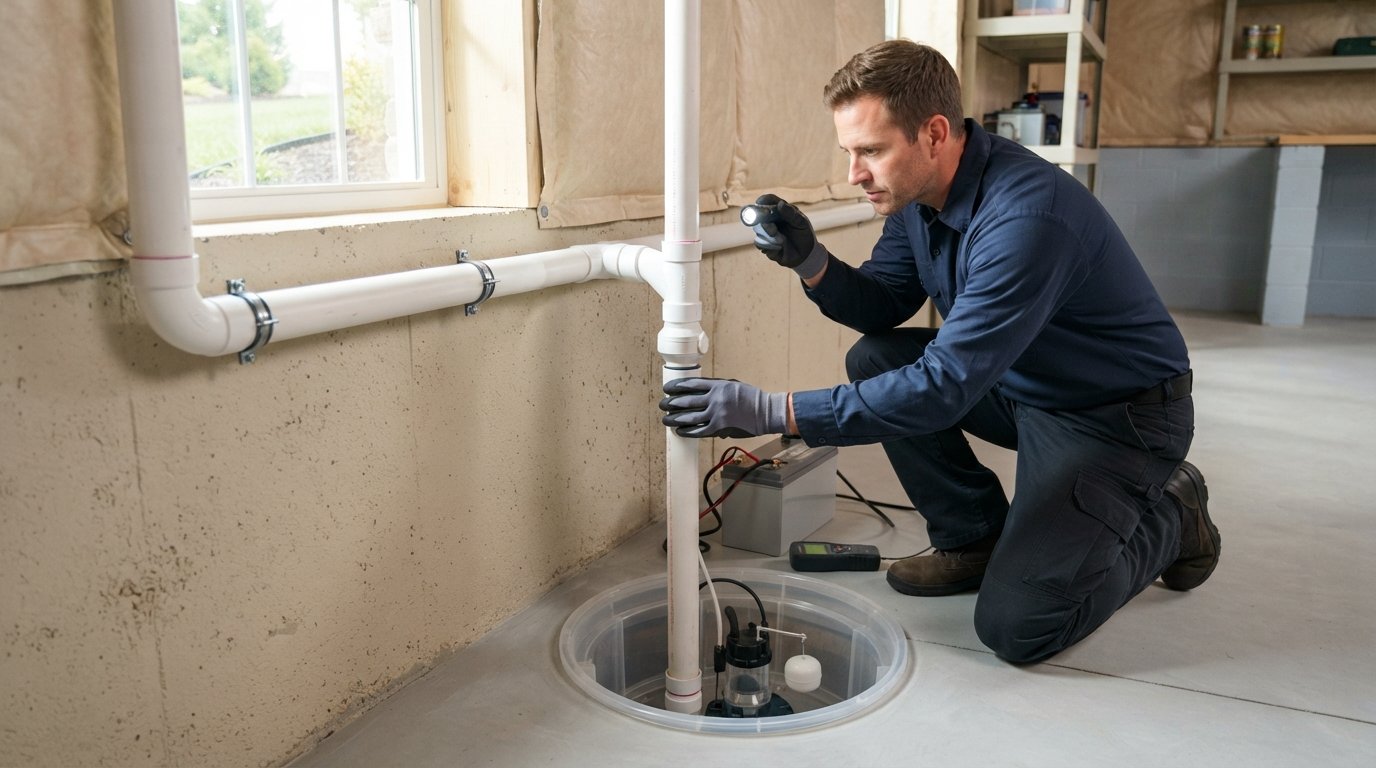
Your sump pump is only as reliable as its components. A pump that runs but does not move water, or a float that sticks, can leave you with a flooded basement during a storm. Set aside time to test the entire assembly, ideally before the rainy season begins. Start by removing the lid and inspecting the pit for debris. Then, slowly pour a bucket of water into the pit until the float rises and the pump kicks on. Listen for any unusual noises and watch how quickly the water level drops. If the pump does not activate or seems sluggish, investigate further.
Here is a simple sequence to follow for a thorough test:
- Disconnect power before cleaning the pit and checking for obstructions around the float.
- Reconnect power and pour water until the pump starts; note the water level at which it activates.
- Check that the pump stops when the water level drops, and that the float moves freely without catching.
- Test the backup system (battery or water-powered) by simulating a power outage or using the test button.
- Inspect the battery for corrosion, and verify that it holds a charge according to the manufacturer's instructions.
After testing, consider the age of your pump. Most sump pumps last about 10 years, and a backup battery may need replacement every 3 to 5 years. If your pump is nearing the end of its lifespan, replacing it proactively is far cheaper than dealing with water damage. Also, make sure your pump is on a dedicated GFCI circuit to prevent electrical hazards. If you are not comfortable performing these tests, a qualified plumber or basement waterproofing contractor can service the system and give you peace of mind.
Interior Drainage and Crack Sealing Options
Even with a functioning sump pump, water can enter through cracks in the foundation walls or floor. Interior drainage systems, such as perimeter drains and baseboard systems, collect water that seeps in and direct it to the sump pit. These systems are often installed along the inside perimeter of the basement, where they intercept water before it reaches the finished floor. If you already have an interior drainage system, check that the channels are clear and that the system slopes correctly toward the pit. Look for signs of standing water or sediment buildup that could block flow.
Crack sealing is another line of defense. Small hairline cracks in poured concrete walls or floors can be injected with polyurethane or epoxy to form a flexible, waterproof seal. For larger cracks or actively leaking areas, a professional may recommend a drainage mat or a full waterproofing membrane. Keep in mind that sealing cracks from the inside is often a temporary fix if the underlying issue is high hydrostatic pressure; the water will find another path. A comprehensive approach combines crack repair with improved exterior drainage and grading. When evaluating contractors for this type of work, it helps to compare quotes and credentials. You can explore vetted professionals through contractor home quotes to find specialists in your area.
Before investing in interior fixes, identify the source of the water. If water is coming through the floor-wall joint, a drainage system may be necessary. If it is seeping through wall cracks, injection or exterior waterproofing might be more appropriate. A basement waterproofing specialist can perform a thorough inspection and recommend the most cost-effective solution for your situation. Remember that interior repairs are most effective when paired with proper exterior water management.
Outdoor Grading and Drainage: The Root Cause
Many basement water problems start outside. If the ground around your foundation slopes toward the house, water will pool against the walls and eventually find its way inside. The final section of your sump pump discharge and basement waterproofing checklist should focus on grading, downspouts, and surface drainage. Walk around your home after a heavy rain and observe where water flows. Ideally, the soil should slope away from the foundation at a rate of about 6 inches over the first 10 feet. If you see low spots or areas where water collects, regrading may be necessary.
Downspouts are another common culprit. They should extend far enough from the house to discharge water safely, and they should be kept clear of leaves and debris. Splash blocks can help, but in many cases, underground extensions or flexible tubing are better at moving water away. If your downspouts connect to a buried drain tile, make sure the system is not clogged or collapsed. French drains and dry wells can also help manage surface water, but they must be designed correctly to avoid creating new problems. For homeowners dealing with persistent dampness, a combination of exterior grading, downspout extensions, and a reliable sump pump discharge system is the most effective strategy.
Finally, consider the role of landscaping. Dense shrubs or mulch piled against the foundation can trap moisture and hide cracks. Maintain a clear zone around the base of your home and avoid overwatering plants near the walls. If you have a sprinkler system, adjust the heads so they do not spray the foundation. Over time, these small adjustments can significantly reduce the amount of water that reaches your basement.
By working through this sump pump discharge and basement waterproofing checklist, you can catch small issues before they become expensive repairs. A few hours of inspection and maintenance each year will help keep your basement dry and your home's value protected. If you need help with any of these tasks, consider reaching out to a qualified contractor who can assess your system and recommend the right upgrades.
Learn more about Home Waterproofing for guides, costs, and what to expect.
Compare Home Waterproofing Pros Near You
Enter your ZIP code to compare top-rated local professionals and request free quotes.