
Smart Lighting Installation: Energy Savings and Home Value
Smart lighting installation energy savings and home value gains start with planning wiring early. Call (833)-365-8755 to compare local remodeling pros.

Learn more about Lighting Installation for guides, costs, and what to expect.
Compare Lighting Installation Pros Near You

Enter your ZIP code to compare top-rated local professionals and request free quotes.
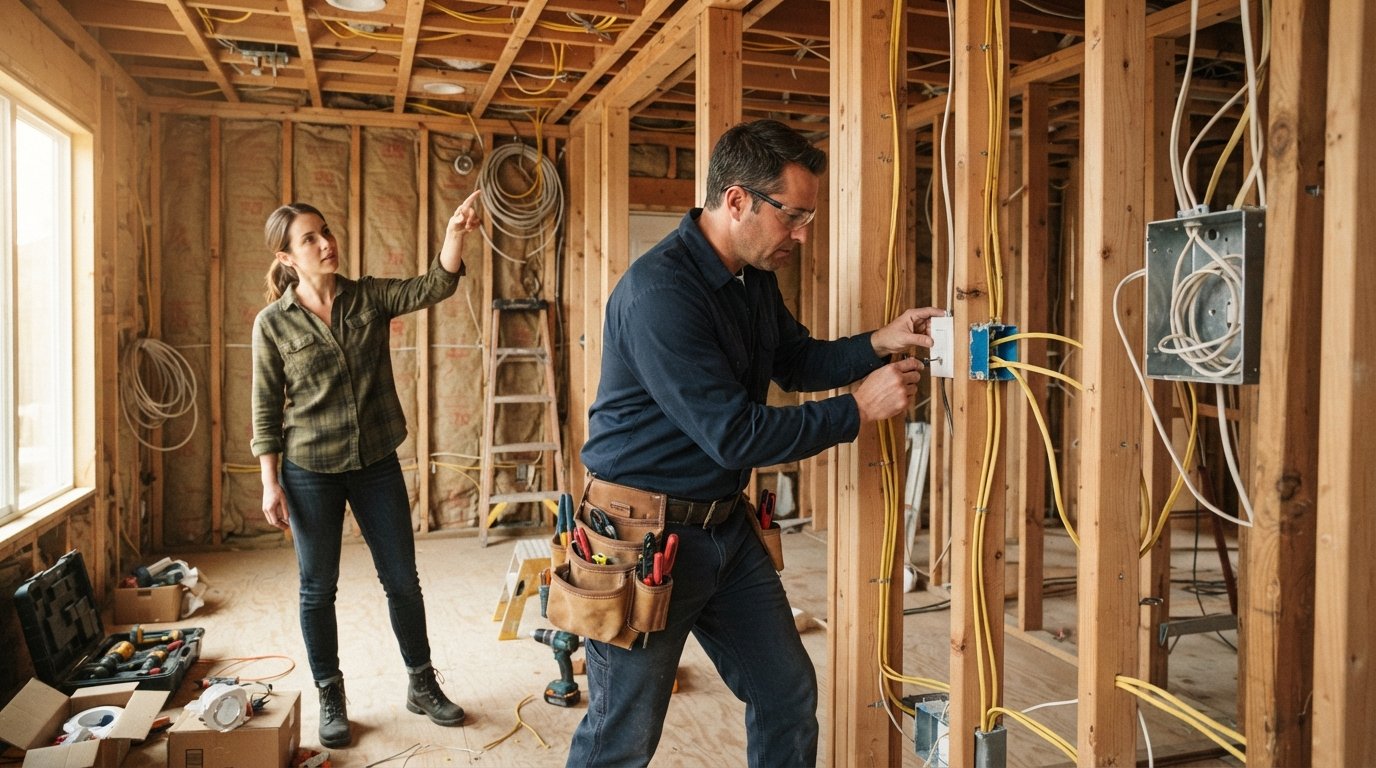
You are standing in a freshly framed room, maybe a kitchen or a basement, and the electrician asks where you want the switches. This is the moment smart lighting decisions get locked in, often with little thought beyond "ceiling fan here, recessed lights there." Yet the choices you make about smart lighting installation during a remodel directly shape your energy bills and your home's resale appeal for years. The good news: you do not need to go all-in on a luxury automation system to capture real benefits. You need a plan that matches your wiring, your budget, and how you actually live.
This guide breaks down the practical side of smart lighting in a renovation: fixture and switch options, where smart switches outperform smart bulbs (and vice versa), realistic energy and convenience gains, wiring requirements that drive cost, and how to layer lighting during construction instead of retrofitting later. Along the way, we will connect these decisions to broader efficiency upgrades that make your whole home work better. If you are already planning a larger energy overhaul, our guide on energy efficient home upgrades for comfort pairs well with the lighting choices below.
Smart Lighting Options: Fixtures, Switches, and Hubs
Smart lighting is not one product; it is an ecosystem. At the simplest end, you have smart bulbs that screw into existing sockets and connect over Wi-Fi or Bluetooth. At the other end, you have hardwired smart switches, dimmers, and keypads that control entire circuits and integrate with a central hub. Most remodels land somewhere in between, mixing a few smart bulbs in lamps with smart switches on the main overhead circuits.
The table stakes for any smart lighting plan are these components: a control layer (switches or bulbs), a network layer (Wi-Fi, Zigbee, Z-Wave, or Thread), and an automation layer (an app, voice assistant, or hub). The control layer is where most homeowners overspend or underplan. Here is a practical breakdown of the main options you will encounter during a remodel.
- Smart bulbs: Lowest upfront cost (often $10 to $30 each), no wiring changes, ideal for lamps and rentals. Downside: if someone flips the wall switch off, the bulb loses power and smart features stop working.
- Smart switches and dimmers: Replace the existing wall switch, control the whole circuit, and keep working even if a bulb is swapped. Require a neutral wire in most cases and cost $25 to $60 per switch plus installation.
- Smart plugs: Cheap way to automate a floor lamp or holiday lights, but not a substitute for circuit-level control.
- Hubs and bridges: A central device (like a SmartThings, Hubitat, or Apple Home hub) that coordinates devices and enables advanced routines. Not always required, but useful for larger installations.
For a remodel, the smart switch is usually the workhorse. It turns an ordinary lighting circuit into a controllable one without asking guests or family members to learn a new app. Smart bulbs still have a place in fixtures where color tuning matters, such as a reading lamp or a accent light over a piece of art. The key is to decide per room, not per house.
Where Smart Switches Beat Smart Bulbs
Smart switches win in any location where multiple bulbs share a circuit: kitchens with six recessed cans, hallways with four sconces, bathrooms with vanity bars. Replacing six bulbs with smart bulbs costs $120 or more and creates six devices to manage. One smart dimmer on that circuit costs $40 to $60 and controls everything at once. Switches also preserve manual control for guests, cleaners, and anyone who does not want to open an app. And because they sit on the wall, they are less likely to be accidentally powered off.
There is one catch: most smart switches require a neutral wire in the switch box. In homes built before the 1980s, the switch box often has only a hot wire and a load wire, with the neutral bundled in the ceiling. An electrician can sometimes fish a neutral, but that adds cost. If your remodel includes opening walls, running a neutral to each switch box is a modest add-on that pays off in flexibility.
Where Smart Bulbs Still Make Sense
Smart bulbs are the better choice when you want color tuning or when wiring is impractical. A rental kitchen, a finished basement with no attic access, or a lamp on a side table are all candidates. They also work well in fixtures that are hardwired but rarely switched at the wall, such as a pendant over a dining table controlled by a pull chain. In those cases, a smart bulb plus a wireless remote gives you control without opening a wall.
If you go the smart bulb route, protect your investment by using a switch cover or a smart switch that stays powered on. Otherwise, someone will flip the switch, and your $25 bulb becomes a dumb bulb until the switch is flipped back. A simple label or a switch guard solves this in most homes.
Realistic Energy Savings from Smart Lighting
Smart lighting does save energy, but the savings come from specific behaviors, not from the technology itself. A smart bulb that is on is using the same watts as a dumb LED. The savings appear when automation reduces wasted light: lights that turn off when a room is empty, dimming that cuts power draw, and schedules that prevent lights from burning all day.
Here is what the numbers look like in practice. A standard LED recessed light uses about 10 to 15 watts. If you have 12 of them in a kitchen and they run four extra hours per day because someone forgets to turn them off, that is roughly 0.6 kWh per day, or about $25 to $30 per year at average U.S. rates. Motion sensors and schedules can cut most of that waste. Multiply across a whole house and the savings can reach $100 to $200 per year in homes with heavy lighting use.
Dimming adds another layer. Dimming an LED to 50 percent typically cuts power draw by 40 to 50 percent, and it extends the life of the fixture. Smart dimmers make dimming easy and consistent, which means homeowners actually use it. The energy savings from dimming alone are modest per fixture, but they compound when applied to the main living areas.
Be skeptical of claims that smart lighting will slash your electric bill by 30 percent or more. Lighting is typically 10 to 15 percent of a home's electricity use, and LEDs have already cut that share. The realistic savings from smart controls are in the 5 to 15 percent range of your lighting costs, plus convenience and security benefits that do not show up on a utility bill. If you want bigger energy wins, pair lighting upgrades with insulation, air sealing, and HVAC improvements, which is where the real savings live.
Wiring and Installation Costs You Should Plan For
The cost of smart lighting installation during a remodel depends heavily on what is behind the drywall. If you are already running new electrical, adding smart switches is a small incremental cost. If you are retrofitting into finished walls, the labor can dwarf the device cost. The main variables are neutral wires, switch box depth, and whether you want a central hub or keypad.
Neutral wires are the most common sticking point. Smart switches need a continuous neutral to power their radios. In older homes, switch loops often lack a neutral at the switch. An electrician can sometimes pull a neutral from a nearby circuit or install a smart switch that does not require a neutral (these exist but are limited and often require a specific bulb type). The safest approach is to have your electrician check the switch boxes before you buy devices. During a remodel, running a neutral to each switch box is a minor cost compared to opening walls later.
Switch box depth matters too. Smart dimmers are deeper than standard switches, and some older boxes are too shallow. Replacing a box is a quick job when walls are open, but a messy one when they are not. If you are planning a kitchen or bathroom remodel, ask your electrician to upgrade switch boxes to deep, heavy-duty versions while the walls are open. It is a small line item that saves headaches later.
Labor costs vary by market, but as a rule of thumb, installing a smart switch in an accessible box takes 15 to 30 minutes. If new wiring is needed, expect $100 to $200 per switch location. For a whole-house plan with 15 to 20 switch locations, the electrical portion can run $2,000 to $4,000, with device costs adding another $600 to $1,200. That is a real budget item, which is why planning during a remodel is so much cheaper than retrofitting room by room.
If you are not comfortable working with electrical wiring, hire a licensed electrician. The Repairmen nationwide platform connects homeowners with vetted local professionals for electrical and remodeling work, and it is a useful starting point if you need to compare local labor rates before your project begins.
Planning Lighting Layers During a Remodel
The biggest missed opportunity in smart lighting is treating it as a swap rather than a design decision. A well-lit room uses layers: ambient light for general illumination, task light for work areas, and accent light for depth and mood. Smart controls let you program those layers independently, which is where the convenience and energy savings really show up.
In a kitchen remodel, for example, you might have recessed cans for ambient light, under-cabinet strips for task light, and pendants over an island for accent. With smart dimmers on each layer, you can set a bright "cooking" scene, a softer "dining" scene, and a low "night" scene. That kind of scene control is hard to retrofit because it requires separate circuits or at least separate switch legs. If you plan it during the electrical rough-in, it costs little more than standard wiring.
Here is a simple framework for planning smart lighting during a remodel:
- Map the layers: list ambient, task, and accent light sources for each room.
- Decide control points: which layers need separate switches or dimmers, and where should those switches live.
- Check wiring: confirm neutral wires, box depth, and circuit capacity for each control point.
- Choose the control type: smart switch, smart bulb, or a hybrid, per layer.
- Plan the network: decide whether you need a hub and where it will live (central location, strong Wi-Fi).
This framework keeps you from overbuying. You do not need a smart dimmer on every circuit; you need it on the circuits you will actually automate. A hall light that runs on a motion sensor is a better investment than a smart bulb in a closet. Similarly, a bathroom vanity light that you dim every morning is worth a smart dimmer, while a utility room light can stay dumb.
One more planning note: think about the resale value. Smart lighting is a selling point when it is documented and easy to use. Leave a simple one-page guide for the next owner, and label the switches. A messy, undocumented smart home can confuse buyers and appraisers. A clean, well-labeled installation reads as a premium feature.
Smart Lighting and Home Value
Does smart lighting increase home value? The honest answer is that it contributes to perceived value more than it adds a specific dollar figure. Real estate agents consistently report that updated lighting and modern switches make a home feel newer and more move-in ready. Smart lighting is part of that package, especially in kitchens, primary bathrooms, and main living areas where buyers focus their attention.
Appraisers generally do not assign a line-item value to smart switches, but they do note overall condition and updates. A home with fresh LED lighting, dimmers, and a coherent lighting plan appraises better than one with dated fixtures and buzzing fluorescents. The value is in the impression, not the device list. That is why the best strategy is to invest in quality fixtures and clean installation, with smart controls as a layer on top. A $40 smart dimmer behind a $20 builder-grade fixture is a wasted opportunity; a $40 dimmer behind a well-chosen fixture is a genuine upgrade.
There is also a practical value in energy efficiency. Buyers increasingly ask about utility bills, and a home with LED lighting, smart thermostats, and efficient HVAC reads as lower-cost to own. Smart lighting is a small part of that story, but it is an easy one to explain. If you are planning a larger renovation, consider bundling lighting upgrades with insulation, windows, or HVAC work so the efficiency story is coherent and the labor is shared.
For homeowners who want to maximize the return on a remodel, the priority order is usually: fix the envelope (insulation, air sealing, windows), upgrade the systems (HVAC, water heater), then finish with lighting and fixtures. Smart lighting is the polish, not the foundation. But when it is planned during a remodel, it costs far less than retrofitting later, and it makes the finished space feel intentional.
Common Mistakes to Avoid
The most common smart lighting mistake is buying devices before checking wiring. Homeowners order a batch of smart dimmers, then discover their switch boxes lack neutrals. That leads to returns, delays, and sometimes a frustrated electrician. Check the wiring first, then buy. A licensed electrician can tell you in minutes what your boxes will support.
Another mistake is mixing too many ecosystems. A Wi-Fi bulb from one brand, a Zigbee switch from another, and a hub from a third can work together, but the setup is fragile. Pick one primary ecosystem (Apple Home, Google Home, Amazon Alexa, or a hub like SmartThings) and favor devices that work with it natively. This reduces app clutter and improves reliability.
Finally, do not overlook the human factor. Smart lighting should work like regular lighting for anyone who does not want to use an app. Switches should still turn lights on and off. Motion sensors should have manual overrides. Guests should not need a tutorial. The best smart lighting is the kind you barely notice, until you realize the lights are always right where you need them.
Smart lighting installation during a remodel is one of those upgrades that feels small but pays off daily. It cuts wasted light, adds convenience, and gives your home a modern edge that buyers notice. Plan the wiring early, choose switches where they make sense, keep the system simple, and pair it with broader efficiency improvements for the biggest impact. If you are ready to bring in a professional, 180 Remodel can connect you with vetted contractors who handle electrical and lighting work as part of a larger renovation.