
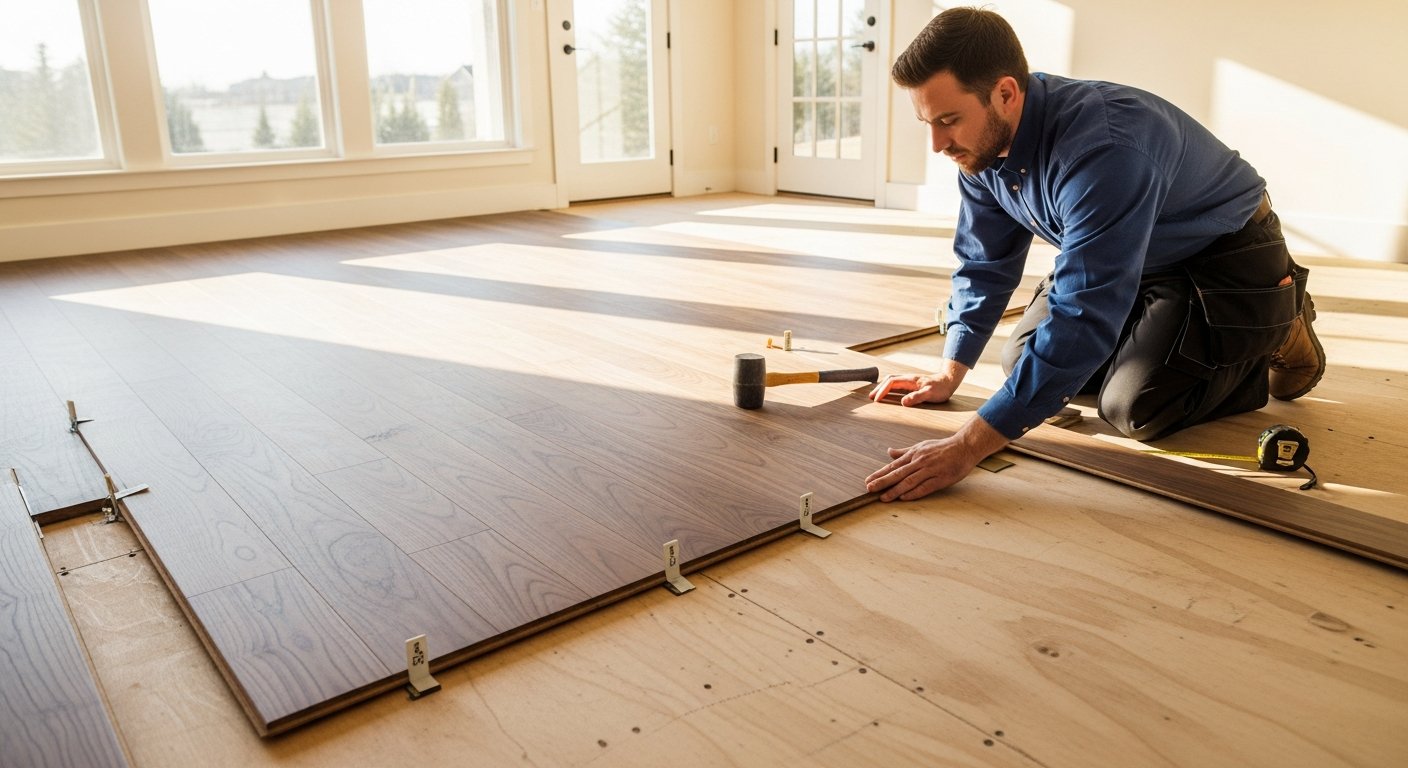
Flooring Installation: Tips for a Flawless Result
Learn how to plan and execute a flawless flooring installation with expert tips on materials, preparation, and hiring the right contractor for lasting results.

By Jackson Adams
Learn more about Floor Installation or Replacement for guides, costs, and what to expect.
Compare Floor Installation or Replacement Pros Near You

Enter your ZIP code to compare top-rated local professionals and request free quotes.
When you decide to upgrade your floors, the promise of a fresh look and increased home value is exhilarating. Yet the path from selecting a material to walking on a finished surface is filled with decisions that can make or break your project. A successful flooring installation depends on careful planning, the right materials, and skilled execution. Whether you are laying hardwood, tile, or laminate, understanding the entire process helps you avoid costly mistakes and ensures a beautiful, long-lasting result. In this guide, we walk you through everything you need to know, from preparing your subfloor to choosing a contractor, so you can step onto your new floor with confidence.
Why Professional Flooring Installation Matters
Many homeowners are tempted to tackle flooring projects themselves to save money. While small updates like snap-together laminate might seem straightforward, most installations require specialized tools, precise measurements, and a deep understanding of how materials react to moisture and temperature. A professional installer brings years of experience that prevents common pitfalls such as uneven seams, warped boards, or gaps that appear after the first season. Moreover, professional work often comes with a warranty that protects your investment.
Beyond avoiding mistakes, a skilled crew can dramatically speed up the timeline. What might take a DIY enthusiast two weeks can be completed in a few days by a team that handles flooring installation every day. This efficiency reduces disruption to your daily life and allows you to enjoy your new space sooner. When you hire through a trusted platform like 180 Remodel, you gain access to vetted professionals who understand local building codes and can handle everything from subfloor leveling to trim finishing.
Preparing Your Home for Flooring Installation
Before the first plank or tile goes down, proper preparation is essential. Start by clearing the room entirely: furniture, rugs, curtains, and even baseboards if they will be replaced. Next, inspect the subfloor for any damage, moisture, or unevenness. A flat, clean, and dry subfloor is the foundation of any quality floor. If you have concrete slabs, check for cracks or dampness that could lead to mold or adhesive failure. For wooden subfloors, listen for squeaks and reinforce loose boards.
Acclimation is another critical step, especially for natural materials like hardwood or bamboo. Bring the flooring into the room where it will be installed and let it sit for at least 72 hours so it adjusts to the temperature and humidity. This prevents expansion or contraction after installation. Also, ensure that your HVAC system is running normally during this period to stabilize the environment. If you are installing in a basement, consider a vapor barrier to protect against ground moisture.
Preparing your home also means planning for the logistics of the installation. Identify where the crew will park, how they will bring materials inside, and where they can set up tools. Protecting adjacent rooms with dust barriers and drop cloths will minimize cleanup afterward. Communicate with your contractor about any special needs, such as moving heavy appliances or working around pets. A well-prepared home allows the team to focus on the installation rather than dealing with delays.
Choosing the Right Flooring Material
The material you select has a huge impact on both the look and the durability of your floor. Here are the most common options and what to consider for each:
- Hardwood: Timeless and elegant, hardwood adds significant resale value. It can be refinished multiple times, but it is sensitive to moisture and scratches. Best for living rooms and bedrooms away from high humidity.
- Laminate: A budget-friendly alternative that mimics wood or stone. It is scratch-resistant and easy to install, but it cannot be refinished and may feel less authentic underfoot.
- Tile (ceramic or porcelain): Extremely durable and waterproof, making it ideal for kitchens, bathrooms, and entryways. Tile can be cold and hard, and installation requires precise cutting and grout work.
- Luxury Vinyl Plank (LVP): Resilient, waterproof, and comfortable to walk on. LVP has become a top choice for families because it looks like wood or stone but resists dents and spills. It is also one of the quieter floating floor options.
- Carpet: Soft and warm, carpet is perfect for bedrooms and cozy spaces. It requires regular cleaning and may trap allergens, so consider synthetic fibers for easier maintenance.
Each material has its own subfloor requirements and installation method. For example, tile often needs a cement backer board, while LVP can go over many existing surfaces if they are smooth. Discuss your lifestyle, foot traffic, and budget with your contractor. Many homeowners choose different materials for different rooms, and a consistent threshold transition creates a cohesive flow throughout the home. If you are unsure which material suits your space, reading our step on style guide for professional flooring installation can help you match your needs with the best options.
The Flooring Installation Process Step by Step
Understanding the typical sequence of a flooring installation helps you know what to expect and when to ask questions. While every project varies, most follow these stages:
- Subfloor preparation: The crew removes old flooring, cleans the subfloor, and levels it with self-leveling compound or plywood patches. They may also install a moisture barrier or underlayment depending on the material.
- Layout and planning: Installers measure the room and determine the best starting point, often along the longest wall or a central reference line. They plan the layout to minimize narrow cuts near walls and to ensure patterns align.
- Cutting and fitting: Using saws and cutters, the team cuts each piece to size. For floating floors, they click planks together; for glue-down or nail-down methods, they apply adhesive or nails at the correct spacing.
- Finishing and transitions: After the main floor is down, installers add transitions between rooms, around doorways, and at expansion gaps. They install quarter-round or baseboards to cover the expansion gap and give a polished look.
- Final inspection: The crew walks the entire floor to check for loose pieces, visible gaps, or squeaks. They clean up debris and may apply a sealant or finish for certain materials.
Throughout the process, a professional contractor will communicate progress and any unexpected issues. For example, if they discover a low spot in the subfloor, they will stop and discuss the best solution before moving forward. This transparency is one reason why hiring through a reputable platform matters. With 180 Remodel, you can compare multiple quotes and read reviews to find a contractor who values clear communication and quality craftsmanship.
Common Mistakes to Avoid During Flooring Installation
Even with a good plan, certain errors can undermine your new floor. One of the most frequent mistakes is ignoring the expansion gap. Solid wood and laminate expand and contract with humidity; if you butt them tightly against walls, the floor can buckle. Always leave a gap covered by baseboards or molding.
Another error is installing over an uneven subfloor without leveling it. Small dips or bumps will telegraph through the flooring, causing visible waves and premature wear. Similarly, many DIYers forget to check for moisture in concrete slabs, leading to adhesive failure and mold. Professional installers always perform a moisture test. Lastly, rushing the acclimation period can cause boards to warp after installation. Patience during the prep phase pays off for decades.
Avoiding these mistakes is easier when you work with a qualified contractor who follows industry standards. They also know how to handle tricky areas like stairs, curved walls, and door jambs. If you are planning a large-scale renovation, consider scheduling your flooring installation after drywall and painting are complete but before cabinets and trim are installed, to protect the new surface from damage.
Cost Considerations and Budgeting for Your Floor
Flooring installation costs vary widely based on material, room size, subfloor condition, and labor rates in your area. On average, labor can range from $2 to $8 per square foot, while materials add another $3 to $15 per square foot. High-end tile or engineered hardwood can push costs even higher. To get an accurate estimate, you need a detailed scope of work that includes removal of old flooring, disposal, underlayment, and trim.
Many homeowners overlook the cost of subfloor repairs. If your subfloor has rot, water damage, or severe unevenness, fixing it can add several hundred dollars to the project. Also, factor in the cost of moving furniture and appliances if you are not doing that yourself. Professional services often include moving heavy items for an extra fee. To avoid surprise bills, get multiple quotes and ask for an itemized breakdown. Use a platform like 180 Remodel to receive custom quotes from several local contractors, allowing you to compare both price and scope. They even offer guidance on budgeting for your entire remodeling project, so you can plan ahead without financial stress.
Do not automatically choose the cheapest bid. Sometimes a lower price means lower quality materials, rushed work, or no warranty. Instead, look for a contractor who provides clear references, shows photos of past projects similar to yours, and offers a written contract with payment milestones. Investing in quality installation now protects your floor from premature failure and saves you money in the long run.
How to Find the Right Contractor for Your Flooring Installation
Selecting a contractor is arguably the most important decision you will make. Start by asking friends, neighbors, or local home improvement groups for recommendations. Then, research online reviews on sites like Google, Yelp, and the Better Business Bureau. Pay attention to comments about punctuality, cleanliness, and communication. Once you have a shortlist, invite each contractor to your home for an on-site estimate. A good contractor will measure the room, ask about your lifestyle, and provide a detailed proposal.
During the interview, ask these key questions:
- How long have you been installing the type of flooring I am considering?
- Do you have a current license and insurance (general liability and workers' compensation)?
- Can you provide three recent references from similar jobs?
- What is the timeline, and how do you handle weather or material delays?
- Do you offer a warranty on your work, and what does it cover?
Trustworthy contractors will answer these questions confidently and provide documentation. Be wary of anyone who demands full payment upfront or pressures you to sign a contract immediately. A reasonable payment schedule tied to completed milestones is standard. After you choose a contractor, get all details in writing: materials, brand, color, installation method, start and end dates, cleanup plan, and warranty terms. With 180 Remodel, you can simplify this process by filling out one form and receiving multiple quotes from pre-screened professionals who are ready to compete for your business.
Once your new floor is installed, take care of it by following the manufacturer's cleaning guidelines. Use felt pads under furniture legs, clean up spills promptly, and avoid dragging heavy objects. With proper maintenance, your floor will stay beautiful for years, making the investment in professional flooring installation well worth it.
Now that you are equipped with the knowledge to plan, budget, and execute your flooring project, you can move forward with confidence. Whether you are remodeling a single room or your entire home, the right preparation and a skilled contractor make all the difference. Start your journey today by exploring the resources at 180 Remodel and learn how professional flooring installation can transform your space.