
Floor Installation Costs and Timelines: A 2026 Homeowner Guide
Discover realistic floor installation costs, material comparisons, and expert tips to avoid costly mistakes and ensure a smooth, durable result.

By Margaret Lowe
Learn more about Floor Installation or Replacement for guides, costs, and what to expect.
Compare Floor Installation or Replacement Pros Near You

Enter your ZIP code to compare top-rated local professionals and request free quotes.
Flooring is one of the most visible and heavily used surfaces in any home. It frames your furniture, absorbs the daily foot traffic, and plays a major role in your property's overall value. Yet, a floor installation or replacement project often feels intimidating because of the wide range of materials, labor costs, and timelines involved. Homeowners frequently ask whether they should refinish what they have or tear it out and start fresh. The answer usually depends on the condition of the subfloor, your budget, and how long you plan to stay in the house. This guide walks you through the key decisions, realistic cost expectations, and the step-by-step process so you can approach your project with confidence and avoid costly surprises.
Before you fall in love with a particular color or texture, it helps to understand that a successful floor installation is as much about preparation as it is about the final product. The subfloor must be level, clean, and dry. The room needs to acclimate to the new material, and you need to know whether you can handle the job yourself or if you should bring in a professional. For many homeowners, the trade-off between saving money on DIY and guaranteeing a flawless finish is the hardest part of the decision. In our guide on floor installation or replacement costs, we break down the specific factors that move the needle on your final invoice. Here, we take a broader view to help you plan the entire journey from selection to final walk-through.
Choosing the Right Material for Your Lifestyle
The material you select sets the tone for your entire project. Hardwood offers timeless appeal and can increase resale value, but it is also sensitive to moisture and requires periodic refinishing. Luxury vinyl plank (LVP) has surged in popularity because it mimics wood or stone while being waterproof and scratch-resistant, making it an excellent choice for families with pets or young children. Porcelain and ceramic tile remain the go-to options for bathrooms and entryways due to their durability, though they can feel cold underfoot and are harder to install. Laminate offers a budget-friendly middle ground, but it does not hold up well in damp areas. Each choice carries a different price tag, installation complexity, and maintenance commitment, so it is crucial to match the material to the room's function rather than just its appearance.
Engineered wood is another strong contender for homeowners who want the look of hardwood with better dimensional stability. Its layered construction allows it to handle humidity changes better than solid planks, which makes it suitable for basements and ground-level installations. Carpet, while less popular in main living areas, still offers unbeatable comfort and sound absorption for bedrooms and home theaters. When comparing options, consider the traffic level, the likelihood of spills, and your long-term plans. A material that is cheap to install but needs replacement in five years will end up costing more than a premium product that lasts for decades. Think of your floor as a long-term investment in how your home feels and functions every single day.
Understanding the Full Cost Breakdown
Most homeowners understand that materials are a significant expense, but the labor and preparation costs often catch them off guard. The price of your project is typically a combination of material cost per square foot, labor rates, subfloor preparation, and removal of the old flooring. For example, a floating LVP floor might cost between $2 and $7 per square foot for materials, but professional installation can add another $2 to $5 per square foot. On the other hand, hardwood installation is more labor-intensive and often requires nailing or gluing each plank, which pushes labor costs higher. Tile work is even more complex because it involves mortar, grout, and precise cutting, so you should expect a premium for skilled tile setters. Beyond these basics, you may need to budget for moving furniture, disposing of old materials, and purchasing transitions or trim pieces.
Subfloor issues are the most common source of unexpected expenses. If your current floor is over a concrete slab, you may need a moisture barrier. If you are installing tile, you might need a cement backer board. If the plywood underneath is damaged or uneven, your contractor will need to repair or level it before any new floor can go down. Skipping this step will lead to squeaks, uneven surfaces, and premature wear. To get a realistic picture of your total investment, always ask for an in-home estimate rather than relying on online calculators. A professional can spot hidden issues that a remote quote cannot, and they can give you a firm price for removing old materials and addressing the subfloor. This upfront clarity helps you avoid surprise bills and lets you allocate your budget to the areas that truly matter.
The Installation Process: What to Expect
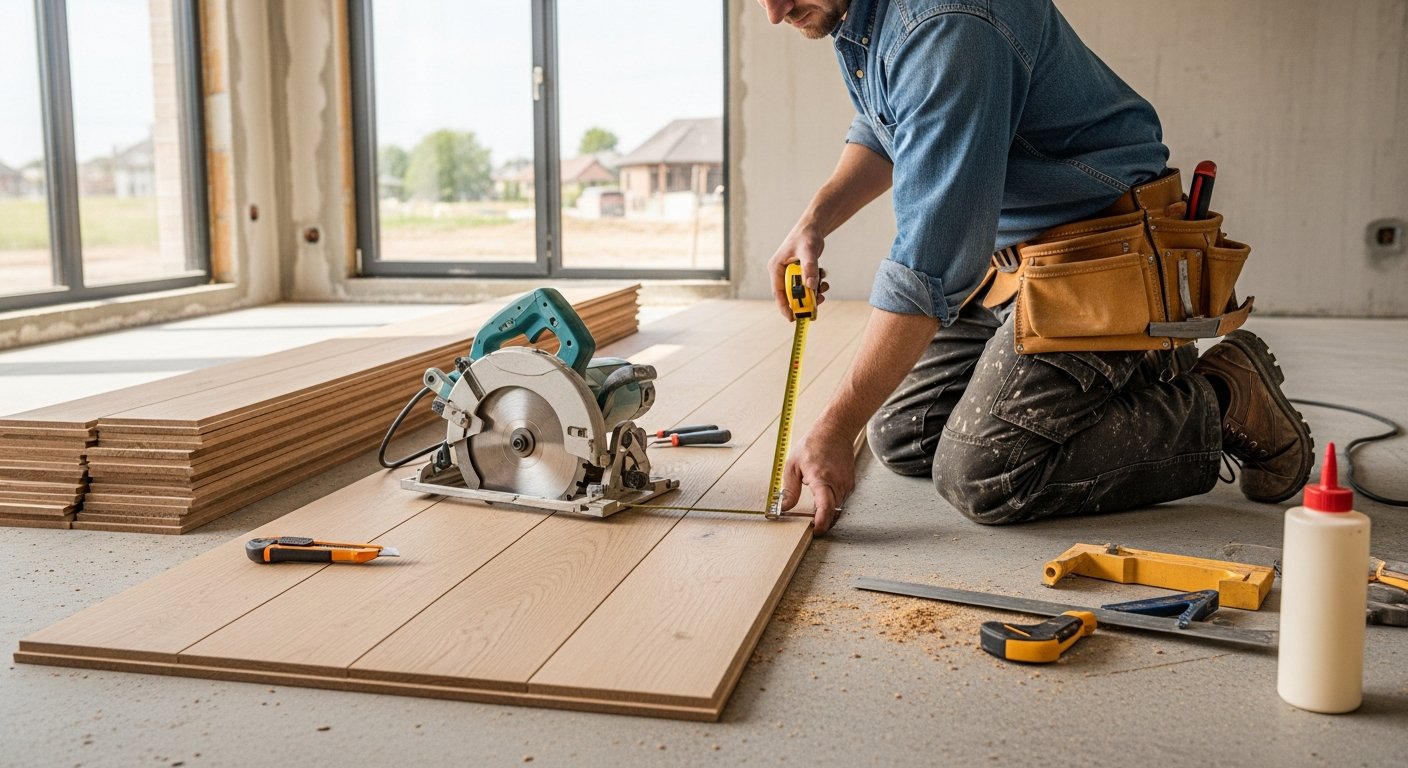
A typical floor installation follows a predictable sequence, though the details vary by material. First, the old flooring is removed, and the subfloor is inspected and repaired. Next, the new material is delivered and left to acclimate in the room for 48 to 72 hours. This step is critical because wood and vinyl expand and contract with temperature and humidity; if you install them before they adjust to your home's environment, you risk buckling or gaps later. During the actual installation, the contractor works from one side of the room to the other, ensuring each row is straight and tightly fitted. For tile, this process includes applying mortar, setting the tiles, and then returning to apply grout once the mortar has cured. Finally, trim, transitions, and baseboards are installed to give the room a polished, finished look.
Depending on the size of your space and the complexity of the layout, the hands-on installation can take anywhere from one day for a simple vinyl floor in a small room to a week or more for a large area with tile or hardwood. It is wise to plan for the room to be out of commission during this time, especially if it is a kitchen or bathroom. You should also ensure that the work area is clear and that pets and children have a safe place to stay away from the dust and tools. While the contractor handles the heavy lifting, you can speed up the process by removing furniture, wall art, and breakables before the crew arrives. Good communication with your installer about your schedule and expectations will make the entire experience smoother and reduce the stress of having workers in your home.
DIY vs. Professional Installation
The appeal of a DIY floor installation is obvious: you save on labor costs and gain a sense of accomplishment. For floating floors, such as laminate or click-lock vinyl, a handy homeowner with basic tools can often achieve excellent results. The planks are designed to snap together, and you only need a utility knife, a tapping block, and a spacer set. However, the challenge is in the details. You need to cut precise angles around doorways, leave the correct expansion gap around the perimeter, and handle uneven walls gracefully. A small mistake in the first row will amplify across the entire room. For glue-down or nail-down installations, the difficulty increases significantly. Hardwood requires a nail gun and an understanding of how to stagger seams, while tile demands a wet saw, troweling skills, and the patience to keep the surface perfectly level.
When you hire a professional, you are paying not just for their time but for their experience and their tools. They know how to handle tricky transitions, how to work around existing cabinetry, and how to solve subfloor problems that would stump a novice. They also carry insurance, so if something goes wrong, you are not left holding the bag. For large areas or high-end materials, professional installation is almost always the safer bet. The warranty on your flooring often requires professional installation as well; many manufacturers void their guarantees if they find evidence of a DIY job that failed. If you are on the fence, consider the value of your time and the cost of fixing a botched installation. Sometimes, paying a professional upfront is the cheapest way to get the result you want.
Regional Considerations and Seasonal Timing
Where you live can significantly influence your flooring choices and installation schedule. In humid climates like Florida or coastal Texas, solid hardwood can be risky because the moisture can cause it to swell and cup. Homeowners in these areas often prefer engineered wood, tile, or luxury vinyl that handles humidity better. In colder northern regions, carpet and hardwood are popular for their warmth, but you must consider how heating systems affect the material. Radiant floor heating, for example, works beautifully with tile and engineered wood but is not recommended with thick carpet or solid hardwood. Additionally, your local building codes may dictate specific requirements for moisture barriers or ventilation, especially for basements and ground-level installations. A local contractor will know these rules and can help you select a product that is appropriate for your climate.
Seasonal timing also matters. Wood and vinyl products are sensitive to extreme temperatures, so shipping and storing them in the middle of a heatwave or a deep freeze can cause problems. Many contractors suggest scheduling your installation in the spring or fall when temperatures are moderate and humidity is stable. This gives the materials time to acclimate properly and reduces the risk of expansion or contraction after the job is done. If you must install during the summer or winter, make sure your home's HVAC system is running and set to a normal living temperature for at least a few days before the delivery. This simple step can prevent many common issues. Planning your project around these regional and seasonal factors will help ensure your new floor looks great and performs well for years to come.
Maintenance and Long-Term Care
Once your floor installation is complete, the work is not over. Proper maintenance is essential to protect your investment and keep your floors looking new. For hardwood and engineered wood, that means sweeping or vacuuming regularly to remove grit that can scratch the surface, and using a damp mop with a cleaner specifically designed for wood. You should also place felt pads under furniture legs and use rugs in high-traffic entryways. Tile and stone require periodic sealing to prevent stains and moisture intrusion, while the grout lines need regular cleaning to avoid discoloration. Luxury vinyl and laminate are the most low-maintenance options, but you should still avoid harsh chemical cleaners that can dull the finish. Always follow the manufacturer's care instructions, as using the wrong product can void your warranty.
Even with the best care, all floors will eventually show signs of wear. Scratches, dents, and fading are inevitable in a busy household. The good news is that many flooring types can be repaired or refinished. Solid hardwood can be sanded and re-stained multiple times, which is a major advantage if you plan to stay in your home for a long period. Engineered wood has a thinner wear layer, so it can only be refinished once or twice. Tile can be refreshed by replacing individual cracked pieces and re-grouting the joints. Laminate and vinyl are not easily repairable, so a deep scratch usually means replacing the affected planks. Understanding these maintenance realities before you choose a material will help you pick a floor that fits your lifestyle and your tolerance for upkeep.
Flooring is a foundational element of your home's design and function. It affects the acoustics, the comfort, and the overall aesthetic of every room. Whether you are upgrading a single bedroom or renovating your entire first floor, taking the time to research materials, understand costs, and choose the right installer will pay off in the long run. A well-installed floor not only transforms the look of your home but also adds tangible value to your property. By following the steps outlined here and working with trusted professionals, you can enjoy a beautiful, durable floor that meets your needs and fits your budget. The key is to stay informed, ask the right questions, and never rush the process.