
Fall Home Maintenance Checklist: Prepare for Winter Now
Work through a fall home maintenance checklist prepare for winter plan that protects pipes, roofs, and heating systems before the first freeze hits.

By Jackson Adams
Learn more about Weatherization for guides, costs, and what to expect.
Compare Weatherization Pros Near You

Enter your ZIP code to compare top-rated local professionals and request free quotes.
The first hard freeze always seems to arrive earlier than expected. One morning the lawn is still green, and by the next week the gutters are packed with frozen leaves and the pipes are groaning. Homeowners who spend a few organized weekends in September and October protecting their properties consistently avoid the expensive emergencies that catch everyone else off guard in January. A solid fall home maintenance checklist prepare for winter routine is not glamorous, but it is one of the highest-return habits a homeowner can build, saving thousands in emergency repairs and keeping energy bills predictable through the coldest months.
This guide walks through the systems that matter most, from the roof overhead to the pipes under the floor, in the order professionals typically tackle them. Whether you handle the work yourself or bring in vetted pros through a service like USremodel's contractor network, the goal is the same: close every gap before winter finds it.
Start at the Top: Roof, Gutters, and Drainage
Water is the single most destructive force acting on a house during winter, and almost all of it arrives through the roof and gutters. Before the first snow or ice storm, walk the perimeter of the home with binoculars and inspect the roof from the ground. Look for lifted shingles, cracked flashing around chimneys and vents, and any dark staining that suggests an active leak. If the roof is more than fifteen years old or you spot granule loss in the gutters, schedule a professional inspection now rather than after the first thaw reveals a stained ceiling.
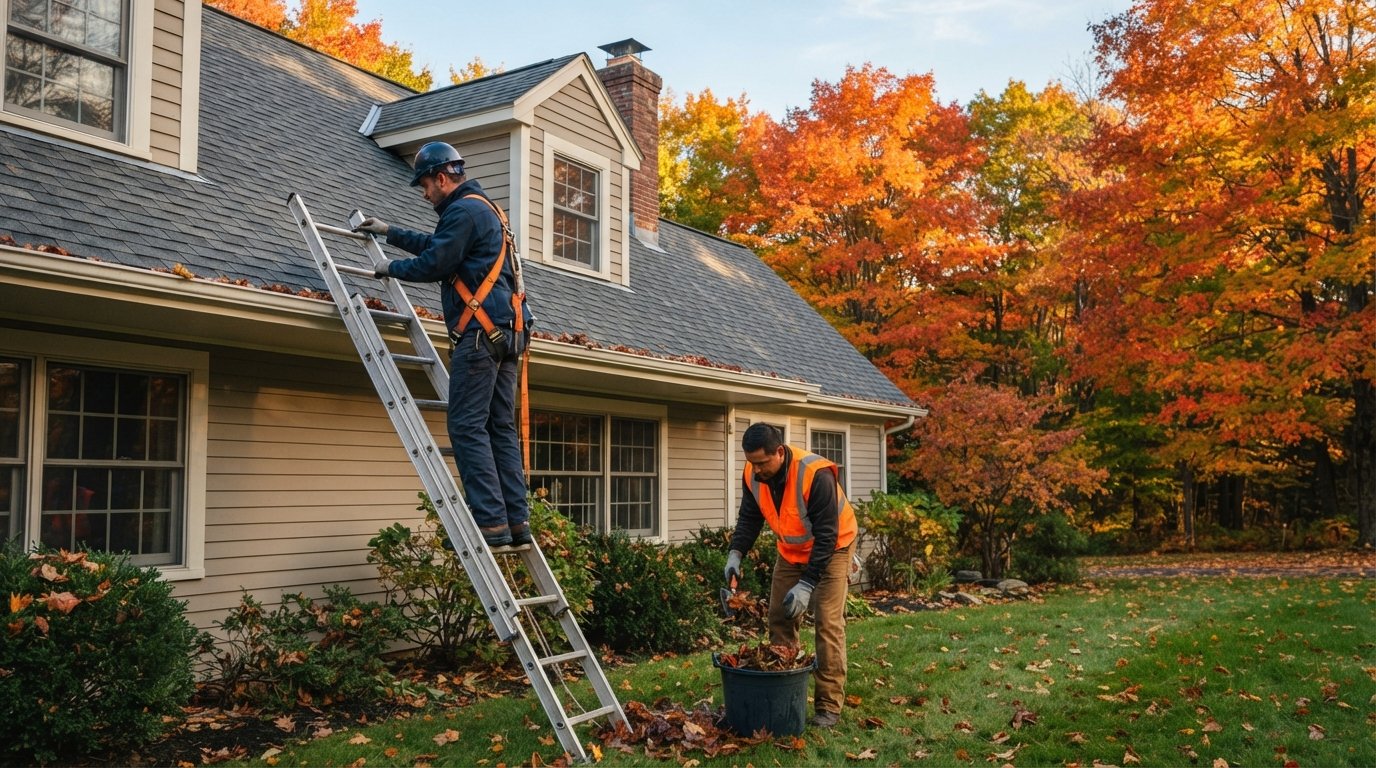
Gutters deserve their own dedicated afternoon. Clear every channel of leaves, twigs, and shingle grit, then flush the downspouts with a hose to confirm water moves freely. In cold climates, standing water in a gutter freezes, expands, and pulls the entire run away from the fascia board, a repair that routinely costs more than a full season of professional cleanings. Downspouts should discharge at least four to six feet from the foundation, ideally onto a splash block or into an underground drain line that carries water downhill.
Grading is the third piece of the drainage puzzle and the one homeowners skip most often. Soil settles over time, and many properties end up sloping toward the house instead of away from it. Add compacted soil along the foundation so the ground falls roughly six inches over the first ten feet. This single step prevents the saturated soil that leads to basement seepage, foundation cracks, and the kind of hydrostatic pressure that no sump pump can fully offset.
Seal the Envelope: Windows, Doors, and Insulation
Every gap in a home's exterior envelope is a small hole in the monthly budget. Air sealing is inexpensive, fast, and immediately measurable on the next utility bill. On a windy day, hold a lit incense stick near window frames, door thresholds, electrical outlets on exterior walls, and the rim joist in the basement. Anywhere the smoke wavers, outside air is entering.
Prioritize the fixes that deliver the biggest comfort gains for the least effort. A practical order of operations looks like this:
- Apply fresh caulk or foam sealant around window and door frames, then install weatherstripping on movable joints.
- Add door sweeps and threshold seals to exterior doors, including the garage entry door.
- Install foam gaskets behind switch plates and outlet covers on exterior walls.
- Seal rim joists and sill plates in the basement or crawl space with rigid foam and spray foam.
- Upgrade attic insulation if it sits below the recommended R-value for your climate zone.
Windows themselves deserve a candid assessment. Single-pane windows in older homes lose heat rapidly and often develop condensation between the panes. If several windows fail the hand test (cold to the touch on a winter morning) or show fogging, replacement usually pays for itself through lower heating costs and better resale value. Homeowners comparing options can explore the next generation home renovation trends shaping window and insulation upgrades, which increasingly pair high-performance glass with smart home monitoring.
Attic insulation rounds out the envelope work. In most of the country, attics should carry between R-38 and R-60, and many older homes have less than half that. Adding blown-in insulation is one of the few home improvements that reliably returns more value than it costs, and it makes every room below it feel warmer immediately.
Winterize the Plumbing Before the First Freeze
Frozen pipes are the classic winter disaster: a burst line behind a wall can release hundreds of gallons before anyone notices, and the resulting water damage often exceeds the cost of the plumbing repair itself. The insurance industry reports that water damage and freezing claims spike every year between December and February, and most of those claims trace back to a handful of preventable oversights.
Begin with exterior hose bibs. Disconnect every garden hose, drain it, and store it indoors. Shut off the interior valve that feeds each outdoor spigot, then open the spigot outside to drain any remaining water. If the home lacks interior shutoff valves for hose bibs, install frost-proof covers over each one. Irrigation systems need the same treatment: blow out the lines with compressed air or hire a specialist to do it, because trapped water will crack sprinkler heads and underground lines.
Inside the house, focus on pipes in unconditioned spaces. Pipes running through crawl spaces, garages, attics, and along exterior walls are the most vulnerable. Fit them with foam pipe insulation, and on the coldest nights leave cabinet doors open under sinks so warm indoor air reaches the pipes. A slow drip from vulnerable faucets during hard freezes costs a few cents of water and prevents the pressure buildup that splits copper. If you travel during winter, set the thermostat no lower than 55 degrees Fahrenheit and consider a smart thermostat that alerts you to sudden temperature drops.
Service the Heating System and Fireplace
A furnace that fails on the coldest night of the year is more than an inconvenience, and emergency service calls cost significantly more than routine maintenance. Schedule a professional tune-up in early fall, before service calendars fill up. A technician will clean the burners, check the heat exchanger for cracks, test the blower motor, and verify that the system is running at its rated efficiency.
Homeowners can handle several tasks themselves between professional visits. Replace the furnace filter monthly during heating season, or at minimum every three months. Clear dust and debris from return vents and registers. If the home uses a boiler or hot water radiators, bleed trapped air from each radiator until water appears. For heat pumps, clear leaves and snow from the outdoor unit and keep the area around it free of obstructions year round.
Fireplaces and chimneys carry their own fall checklist. Creosote buildup in a chimney is highly flammable, and the National Fire Protection Association recommends an annual inspection and cleaning by a certified sweep. If the fireplace goes unused, cap the chimney to keep rain, animals, and cold air out. Gas fireplaces should have their logs, burners, and venting inspected as well, since a clogged vent can push carbon monoxide into living space. Install or test carbon monoxide detectors on every level of the home and near sleeping areas.
Prepare the Yard, Exterior, and Emergency Kit
Winter preparation extends well beyond the walls of the house. Trees and shrubs need attention before heavy snow and ice arrive. Prune dead branches that hang over the roof, driveway, or power lines, since ice loading turns a small limb into a serious hazard. Trim back shrubs at least a foot from the siding to prevent moisture trapping and pest access. After the first hard frost, drain and store garden hoses, shut down outdoor water features, and move potted perennials into a garage or sheltered area.
Exterior surfaces deserve a final walkthrough as well. Check the driveway and walkways for cracks that will widen when water freezes inside them, and seal them before temperatures drop. Inspect exterior paint and siding for peeling or gaps, then touch up problem areas, because paint is the first line of defense against moisture intrusion. Clean the dryer vent and any exterior exhaust vents so they do not become blocked by snow. If the home has a deck, clear debris between boards and apply a fresh coat of sealer if the wood has not been treated in two or three years.
Finally, assemble or refresh a winter emergency kit. A well-stocked kit covers the scenarios that winter storms create, from power outages to blocked driveways. At minimum, include:
- Flashlights, extra batteries, and a battery-powered or hand-crank radio.
- A three-day supply of nonperishable food and one gallon of water per person per day.
- Blankets, warm clothing, and sturdy footwear for every household member.
- A first aid kit, medications, and copies of important documents.
- Ice melt, snow shovels, and a bag of sand or kitty litter for traction.
Keep the kit in a single accessible location, and check it each October so nothing has expired or wandered off. Homeowners who complete this checklist before the first freeze spend the winter maintaining their homes rather than rescuing them. The work takes a few focused weekends in the fall, and it pays back in lower utility bills, fewer emergency calls, and the quiet confidence that comes from knowing the house is ready for whatever the season delivers.