
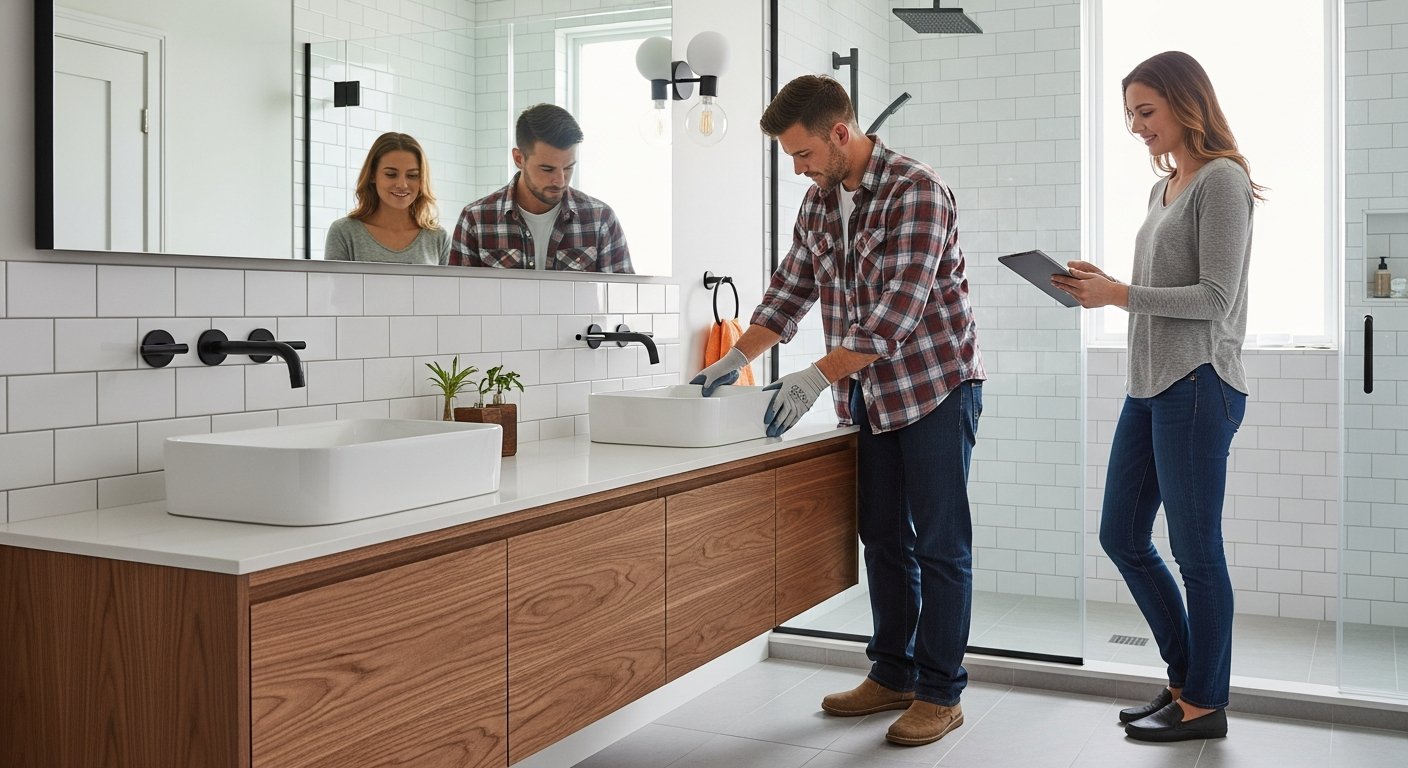
Bathroom Remodeling: A Complete Homeowner Guide
Plan a successful bathroom remodeling project with a step-by-step guide on budgeting, design, contractor selection, and avoiding common mistakes.

By Rachel Green
Learn more about Bathroom Remodel for guides, costs, and what to expect.
Compare Bathroom Remodel Pros Near You

Enter your ZIP code to compare top-rated local professionals and request free quotes.
Bathroom remodeling is one of the most rewarding home improvement projects you can tackle. It adds real value to your property, improves your daily comfort, and can even reduce your water bills. Yet many homeowners hesitate because they worry about cost, timelines, and the risk of hiring the wrong contractor. This guide breaks down the entire process into clear, manageable steps. You will learn how to plan, budget, design, and execute a bathroom remodel with confidence, whether you are updating a half bath or transforming a master suite. By the end, you will have a roadmap that saves you time, money, and stress.
Why Bathroom Remodeling Is Worth the Investment
Your bathroom is one of the most used rooms in your home. It is also one of the first places buyers look at when they tour a house. A dated or dysfunctional bathroom can drag down your home's value and make daily routines feel like chores. On the flip side, a well-executed remodel can deliver a return on investment (ROI) of 60% to 70% on average, according to industry studies. That means a $15,000 bathroom remodel could add $9,000 to $10,500 to your home's resale value.
Beyond resale, bathroom remodeling improves your quality of life. Modern fixtures, better lighting, and smart storage make the space more functional and enjoyable. You can also incorporate energy-efficient features like low-flow toilets, LED lighting, and water-saving showerheads, which lower your utility bills over time. The key is to approach the project strategically, balancing your needs with your budget and the potential return.
Step 1: Define Your Bathroom Remodeling Goals
Before you call any contractor, you need a clear vision. Ask yourself: What is not working in my current bathroom? Is it too small, too dark, or poorly laid out? Are you tired of the dated tile and fixtures? Do you want a spa-like retreat or a more practical family bathroom? Write down your top three priorities, because they will guide every decision you make.
Your goals also determine the scope of the project. A cosmetic refresh, like painting, new hardware, and a vanity swap, is quick and affordable. A full remodel, which includes moving plumbing, replacing the bathtub, and installing new tile, is more involved and costly. Knowing which category you are in helps you set realistic expectations and a realistic budget.
Assess Your Existing Bathroom
Take a close look at your current space. Measure the floor area, note the location of plumbing lines, and check for any signs of water damage or mold. This assessment tells you what you can keep and what must go. For instance, if your plumbing is old or corroded, it is wise to replace it while the walls are open, even if it adds to the budget. If the layout works well, you can save thousands by keeping the same footprint and just updating finishes.
Step 2: Set a Realistic Budget for Bathroom Remodeling
Cost is the biggest concern for most homeowners, and for good reason. Bathroom remodeling prices vary widely based on size, materials, and location. A small powder room might cost $5,000 to $10,000, while a large master bath can run $25,000 to $40,000 or more. On average, homeowners spend about $10,000 to $15,000 on a midrange bathroom remodel, according to the National Association of Realtors.
To set your budget, get at least three quotes from licensed contractors. Each quote should itemize labor, materials, permits, and any demolition costs. Do not automatically choose the lowest bid; instead, compare what each contractor includes. A slightly higher quote might include better materials, a longer warranty, or a more detailed timeline. Also, set aside a contingency fund of 10% to 20% of your total budget for unexpected issues like hidden water damage or outdated wiring.
Where to Save and Where to Splurge
Not every part of your bathroom needs top-tier materials. Here is a quick guide:
- Splurge on plumbing fixtures: Quality faucets and showerheads last longer and perform better.
- Save on tile: Choose classic subway tile or large-format porcelain; both are budget-friendly and stylish.
- Splurge on waterproofing: A proper waterproof membrane behind tile prevents costly mold and rot.
- Save on lighting: LED fixtures are energy-efficient and inexpensive.
- Splurge on ventilation: A high-quality exhaust fan protects your walls and ceiling from moisture damage.
Remember, you can always upgrade finishes later, but it is much harder to fix structural or mechanical problems once the walls are closed. In our article on bathroom remodeling ROI, we break down which upgrades add the most value to your home.
Step 3: Design Your Dream Bathroom
Design is where your vision comes to life. Start by choosing a style, such as modern, farmhouse, spa, or transitional. Then pick a color palette: light neutrals make a small space feel larger, while bold colors add personality. Use online tools like Pinterest or Houzz to gather inspiration, but keep practicality in mind. For example, glossy tile looks beautiful but can be slippery when wet; choose a matte or textured finish for the shower floor.
Think about storage too. A vanity with drawers, a recessed medicine cabinet, and wall-mounted shelves can keep your countertops clutter-free. If you have the space, consider a double vanity to reduce morning conflicts. For a more luxurious feel, add a freestanding tub, a walk-in shower with a bench, or heated floors. Just remember that every feature adds cost and complexity, so prioritize what you will use most.
Layout and Flow
The layout should follow the classic bathroom triangle: the sink, toilet, and shower or tub should be arranged for easy movement. If you are keeping the same footprint, you might only move the vanity or swap the tub for a shower. If you are expanding into an adjacent closet or hallway, you will need to reroute plumbing and possibly electrical, which increases cost. Consult with a designer or contractor early to see what is feasible within your budget.
Step 4: Hire the Right Bathroom Remodeling Contractor
Your contractor makes or breaks the project. A skilled professional ensures the work is done to code, on time, and within budget. A bad one can turn your dream into a nightmare. Start by asking for recommendations from friends, family, or your local building supply store. Then, vet each candidate thoroughly: check their license, insurance, and references. Ask to see examples of their previous bathroom remodels, and if possible, visit a completed project.
Get detailed written quotes from at least three contractors. Each quote should include a timeline, payment schedule, and a description of the work. Be wary of contractors who ask for a large deposit upfront or who pressure you to sign quickly. A reputable contractor will walk you through the process and answer all your questions. You can also use 180 Remodel to get quick, customized quotes from vetted professionals in your area, which simplifies the comparison process.
Questions to Ask Before Hiring
- How long have you been doing bathroom remodeling?
- Are you licensed and insured in my state?
- Can you provide references from recent bathroom projects?
- Will you pull the necessary permits?
- How do you handle unexpected issues or change orders?
These questions reveal a contractor's professionalism and transparency. A reliable professional will answer them clearly and provide written documentation. If you want more tips on vetting contractors, our guide on spa style bathroom remodeling includes a section on choosing the right team for a high-end project.
Step 5: Plan the Bathroom Remodeling Timeline
A typical bathroom remodel takes two to four weeks, depending on the scope. Demolition takes a few days, followed by plumbing and electrical rough-in, then drywall, tile, and fixtures. If you are moving walls or adding windows, the timeline stretches longer. Delays happen, so build some buffer into your schedule, especially if you are living in the home during the remodel.
To minimize disruption, set up a temporary bathroom if possible, or plan to use a guest bath. Communicate your schedule with the contractor so you know when workers will be on site and when you can expect key milestones. Regular check-ins help you catch issues early and keep the project moving forward.
Step 6: Choose Materials That Last
Your material choices affect both the look and longevity of your bathroom. For flooring, porcelain or ceramic tile is durable and water-resistant. Luxury vinyl plank (LVP) is another excellent option; it looks like wood but resists moisture. Avoid real wood flooring unless it is sealed properly, as water can cause warping and mold. For countertops, quartz is a popular choice because it is non-porous, stain-resistant, and low-maintenance. Solid surface and granite are also good options, but they require periodic sealing.
For shower walls, large-format tiles or acrylic panels reduce grout lines, which means less cleaning and fewer places for mold to grow. Choose a light-colored grout that is sealed to prevent staining. Also, consider a pre-fabricated shower pan instead of a custom-tiled floor; it is more affordable and less likely to leak. For fixtures, go with brushed nickel or matte black for a modern look that does not show water spots as easily as chrome.
Energy and Water Efficiency
Bathroom remodeling is a great opportunity to go green. Install a WaterSense-labeled showerhead and toilet to reduce water usage by up to 20% and 30%, respectively. An on-demand tankless water heater can cut energy costs, though it requires a larger upfront investment. LED vanity lights and a motion-sensor exhaust fan also save electricity. These upgrades not only lower your bills but also appeal to eco-conscious buyers if you ever sell.
Step 7: Manage the Bathroom Remodeling Process
Once construction starts, stay involved but trust your contractor. Establish a communication plan: a weekly check-in or a group text for quick updates. Visit the site regularly to see the progress and ask questions. If something looks off, speak up immediately. Small issues are easy to fix; big ones can be costly. Keep all receipts and contracts in a folder or an app, so you have a record for warranty claims or future resale.
Be prepared for dust and noise. Seal off the work area with plastic sheeting and use a HEPA filter to trap fine particles. Move your toiletries and other items out of the bathroom before demolition begins. If you are living in the home, plan meals that do not require the kitchen sink if the plumbing is affected. With a little planning, you can minimize stress and stay comfortable throughout the remodel.
Step 8: Final Inspection and Handover
When the work is done, walk through the bathroom with your contractor. Test every fixture: turn on the shower, flush the toilet, run the sink, and feel for drafts around windows. Check that tiles are level, grout lines are clean, and doors and drawers open smoothly. Ask the contractor to explain how to care for the new materials, such as sealing grout or cleaning quartz. Also, request all warranties and manuals for fixtures and appliances.
Before you make the final payment, ensure that all permits are closed and that the work passes local building inspections. A reputable contractor will handle this for you. Once everything is approved, you can celebrate your new bathroom. Take photos for your records and consider leaving a review for your contractor to help other homeowners in your community.
Bathroom Remodeling Mistakes to Avoid
Even with careful planning, mistakes happen. Here are the most common pitfalls and how to avoid them:
- Skipping the permit: Unpermitted work can cause headaches when you sell or file an insurance claim. Always pull the required permits.
- Choosing style over function: A gorgeous bathroom that is hard to use or clean is a poor investment. Prioritize layout and storage.
- Underestimating ventilation: Without a good exhaust fan, moisture leads to mold and peeling paint. Install a fan with at least 50 CFM for small bathrooms.
- Ignoring lighting layers: Use a mix of ambient, task, and accent lighting to create a functional and inviting space.
- Rushing the contractor selection: Taking time to hire the right professional saves you money and stress in the long run.
Avoiding these mistakes keeps your project on track and your budget intact. If you are looking for more inspiration, our article on spa style bathroom remodeling shows how to create a tranquil retreat with the right design choices.
When to Call in the Pros for Bathroom Remodeling
Some homeowners attempt DIY bathroom remodels to save money, but certain jobs are best left to professionals. Tiling, plumbing, electrical work, and structural changes require specialized skills and permits. A mistake in these areas can be costly and dangerous. A professional contractor also has industry connections, which means better prices on materials and faster timelines. They carry insurance, so you are not liable for accidents or damage during the project.
If your remodel involves moving walls, rerouting plumbing, or upgrading your electrical panel, hire a licensed contractor. Even for cosmetic updates, a professional can ensure a flawless finish that lasts. Use 180 Remodel to get multiple quotes from qualified pros in your area, and compare their experience, pricing, and warranties. This approach not only saves you time but also helps you find the best fit for your project.
Enjoy Your New Bathroom
Bathroom remodeling is a significant investment, but the rewards are substantial. You gain a beautiful, functional space that adds value to your home and improves your daily life. By following the steps in this guide, you can navigate the process with confidence, avoid common pitfalls, and end up with a bathroom you love. Start by defining your goals, setting a budget, and researching contractors. Then, let the transformation begin.
Learn more about Bathroom Remodel for guides, costs, and what to expect.
Compare Bathroom Remodel Pros Near You
Enter your ZIP code to compare top-rated local professionals and request free quotes.