
Attic Insulation Cost Savings: A Practical Guide
Learn how to calculate attic insulation costs, project savings, and choose the right contractor for the best ROI.

By Margaret Lowe
Learn more about Insulation Installation or Upgrade for guides, costs, and what to expect.
Compare Insulation Installation or Upgrade Pros Near You

Enter your ZIP code to compare top-rated local professionals and request free quotes.
When was the last time you thought about the space above your ceiling? For most homeowners, the attic is a forgotten storage zone, a dusty afterthought that barely registers until a roof leak appears. But that overlooked space holds one of the biggest levers for your home's energy efficiency and your monthly budget. In fact, the U.S. Department of Energy estimates that properly insulating your attic can save you up to 15% on heating and cooling costs, which translates to hundreds of dollars every year. This attic insulation installation cost savings guide cuts through the confusing quotes and conflicting advice, giving you a clear picture of what to expect, how to maximize your return, and how to make a decision that pays off for decades.
Why Attic Insulation Matters More Than You Think
Your attic is the primary battleground for heat transfer. In the winter, warm air naturally rises and escapes through an under-insulated ceiling, making your furnace work harder. In the summer, radiant heat from the roof pours into your living space, forcing your air conditioner into overdrive. A well-insulated attic creates a thermal barrier that slows this exchange, keeping your home comfortable year-round and reducing the strain on your HVAC system.
The financial impact is not just theoretical. Homes with inadequate attic insulation often see energy bills that are 20% to 30% higher than comparable homes with proper R-values. Over a single year, that difference can easily reach $400 to $600 in most climates. When you consider that attic insulation typically lasts 25 to 30 years, the cumulative savings become substantial, often exceeding the initial installation cost within the first few years.
Beyond energy bills, there are other less obvious benefits. A properly insulated attic helps maintain more consistent indoor temperatures, reduces the load on your heating and cooling equipment (which can extend its lifespan), and prevents ice dams in colder regions by keeping the roof surface at a more uniform temperature. It also improves indoor air quality by reducing drafts and minimizing the entry of outdoor pollutants and allergens.
Understanding the True Cost of Attic Insulation Installation
So, what does it actually cost? The national average for attic insulation installation ranges from $1,500 to $3,500, but this figure is far from universal. Several key factors drive the final price, and understanding them before you get quotes will help you avoid sticker shock and budget accurately.
Material Choices and R-Value
The type of insulation you choose significantly impacts both cost and performance. Here is a breakdown of the most common options:
- Fiberglass batts (rolls): The most budget-friendly option, typically costing $0.50 to $1.00 per square foot of material. Best for DIYers and standard joist spacing.
- Loose-fill fiberglass or cellulose: Blown-in insulation, ideal for irregular spaces and topping up existing insulation. Costs $1.00 to $1.50 per square foot installed.
- Spray foam (open-cell or closed-cell): The premium choice, offering superior air sealing and higher R-value per inch. Costs $1.50 to $3.50 per square foot for open-cell, and $3.00 to $5.00 for closed-cell.
The R-value, which measures thermal resistance, is the second half of this equation. The recommended R-value for attics in most U.S. climates is R-38 to R-60. Your local climate zone dictates the exact target, and a reputable contractor will calculate the current R-value and recommend the amount of new insulation needed to reach the standard.
Labor, Air Sealing, and Other Variables
Labor costs typically account for 50% to 70% of the total project price. This includes the time to prepare the space, operate the blowing machine (for loose-fill), and ensure even coverage. More complex jobs, such as attics with low clearance, difficult access, or extensive existing insulation that needs removal, will command higher labor charges.
A crucial but often overlooked line item is air sealing. Insulation is only as effective as the barrier it creates. Gaps around recessed lights, plumbing vents, and chimney chases allow conditioned air to escape, bypassing the insulation entirely. A professional installer will identify and seal these penetrations with caulk or spray foam before adding new insulation, adding $200 to $500 to the total cost but dramatically improving performance.
Other factors include:
- Square footage: The larger your attic, the more material and labor needed.
- Existing insulation: If old, damaged, or rodent-infested insulation must be removed, disposal fees apply (usually $0.50 to $1.00 per square foot).
- Accessibility: A walk-up attic is easier and cheaper to work in than a crawl space accessed only through a small hatch.
- Regional labor rates: Costs in urban areas are typically higher than in rural ones.
How to Calculate Your Potential Savings
Before you spend a dime, it is wise to estimate how much money you could save. The formula is straightforward: first, determine your current insulation level (often expressed as an R-value). Second, find the recommended R-value for your climate zone. The difference between the two is the gap you need to fill.
A simple way to gauge your savings is to use the online calculators provided by the Department of Energy or your local utility company. These tools ask for your ZIP code, home size, fuel type, and estimated energy bills, then return a projection of annual savings based on adding the recommended insulation. For example, a 1,500-square-foot home in a cold climate with only R-11 insulation might save $400 to $600 per year by upgrading to R-49.
To put this in perspective, consider a typical project costing $2,500. If your annual savings are $500, your payback period is just five years. After that, the savings are pure profit. This return on investment is far better than many other home improvements, and it continues for the life of the insulation.
There are also incentives that can shorten that payback period. Many utility companies offer rebates for insulation upgrades, ranging from $100 to $500. Federal tax credits, like the Energy Efficient Home Improvement Credit, can cover up to 30% of the cost (up to $1,200) for qualifying insulation materials and air sealing. Always check current incentives in your area before you schedule work.
DIY vs. Hiring a Professional: Which Is Right for You?
The decision to install attic insulation yourself or hire a contractor hinges on your skill level, the complexity of the job, and the material you choose.
DIY-friendly options: Fiberglass batts are relatively simple to handle. If you have a clean, open attic with standard joist spacing and you are just adding a layer on top of existing insulation, you can likely handle this over a weekend. The main costs are the material itself (around $300 to $600 for a typical attic) and some safety gear (gloves, mask, goggles). However, the risk is improper installation: compressing batts reduces their R-value, and leaving gaps negates their effectiveness.
Better left to professionals: Loose-fill and spray foam installations require specialized equipment. For loose-fill, a blowing machine must be rented, and even then, achieving uniform depth and density is tricky. Spray foam, especially closed-cell, requires professional training to mix chemicals correctly and avoid off-gassing issues. Air sealing is another task where a professional's eye is invaluable; they know where to look for hidden bypasses.
Given the technical demands and the importance of a complete thermal boundary, hiring a licensed insulation contractor is often the wiser investment. A professional will conduct a thorough assessment, ensure proper ventilation, and guarantee that the R-value is met. This is where a platform like USremodel can be invaluable. It connects you with pre-screened, independent contractors in your area, allowing you to compare quotes and choose a specialist who is vetted for quality and reliability.
Choosing the Right Contractor and Getting the Best Price
When you are ready to hire, do not simply pick the first name from an online search. A detailed, apples-to-apples comparison is essential. Here is a step-by-step approach to securing a fair price and a quality installation.
- Get multiple quotes: Aim for at least three written estimates from different contractors. This gives you a baseline for fair market pricing in your area.
- Ask for detailed specifications: Each quote should state the type of insulation, the target R-value, the number of square feet to be covered, whether air sealing is included, and the estimated timeline.
- Check credentials and insurance: Verify that the contractor is licensed, bonded, and insured. Ask for references and check online reviews on platforms like the Better Business Bureau.
- Inquire about warranties and guarantees: A reputable contractor will offer a workmanship warranty, and the insulation manufacturer should provide a material warranty.
- Compare more than price: The lowest bid is not always the best value. A slightly higher estimate from a contractor who includes comprehensive air sealing will likely save you more in the long run.
Using a lead generation service like 180 Remodel simplifies this process. You submit a single request, and within minutes, you receive customized quotes from qualified local professionals. This streamlines the comparison process and ensures you are only dealing with contractors who have been vetted for trustworthiness and expertise, aligning with our commitment to connecting homeowners with reliable pros.
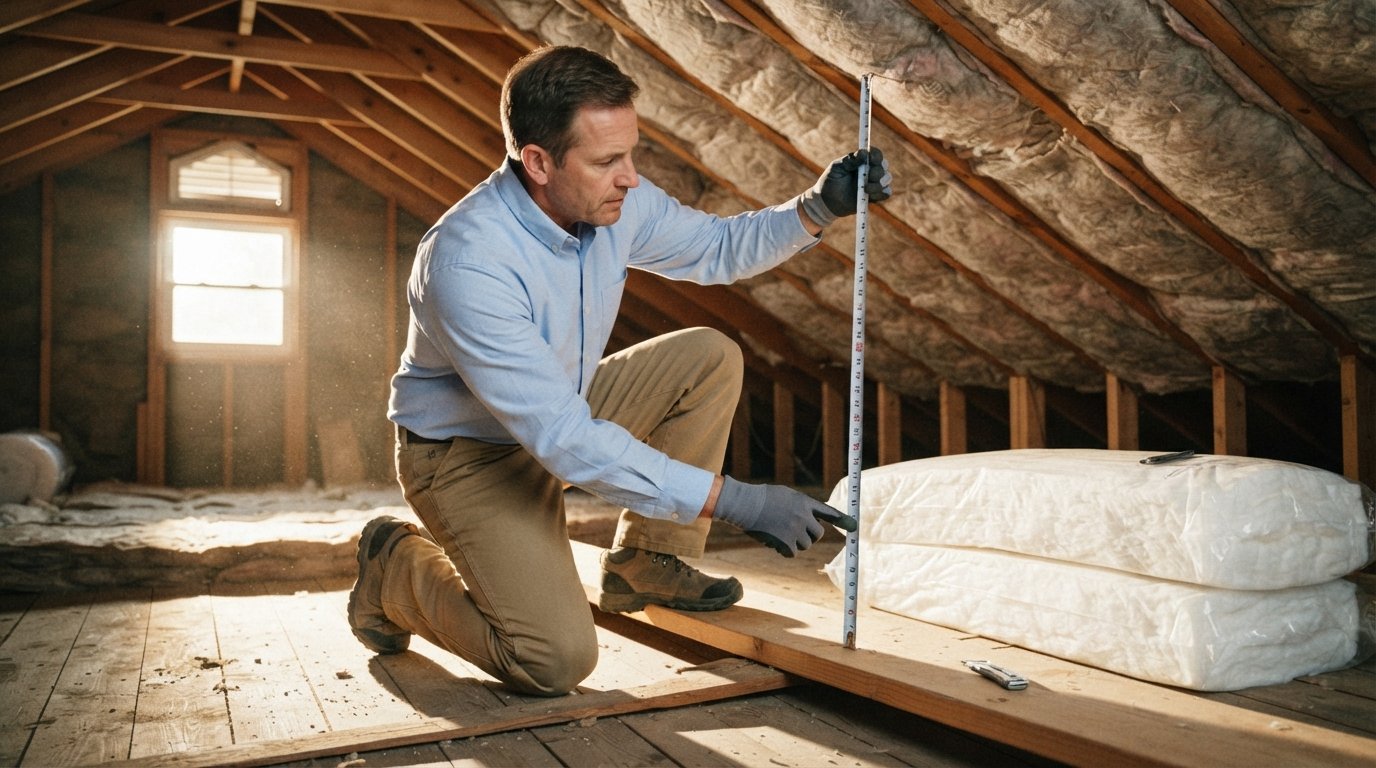
During the estimate, ask the contractor to show you what they plan to do. A thorough professional will inspect your attic, measure the existing insulation depth, and point out specific air leaks. They should also discuss attic ventilation, as proper airflow is necessary to prevent moisture buildup and ensure the insulation performs as intended.
Beyond the Installation: Maximizing Your Investment
Once your new insulation is in place, you can take a few additional steps to maximize your savings. First, focus on the rest of your home's building envelope. Insulation works best when paired with proper air sealing throughout the house, not just in the attic. Check for drafts around windows, doors, and electrical outlets on exterior walls.
Second, ensure your attic access door or hatch is itself insulated and sealed. A poorly sealed pull-down stair can undo much of the benefit of your new insulation. You can purchase an insulated attic stair cover or build one yourself with rigid foam board.
Third, consider a home energy audit. Many utilities offer these for free or at a reduced cost. An auditor will use a blower door test and thermal imaging to identify all areas of energy loss, giving you a roadmap for future improvements, such as upgrading your water heater or replacing old windows. If you are planning a larger renovation, you might also want to consider how your attic insulation interacts with other systems. For example, recessed lighting fixtures must be rated for insulation contact (IC-rated) to prevent fire hazards.
Finally, keep records of your installation and any rebates or credits you received. This documentation is useful for tax purposes and when selling your home, as it provides proof of the energy-efficiency upgrade. In our guide on bathtub installation cost, we highlight how upfront investments in home improvements can pay off in comfort and value, and the same principle applies here.
Attic insulation is one of those rare home improvements that pays for itself many times over. It reduces your environmental footprint, increases your comfort, and puts money back in your pocket every single month. By understanding the costs, calculating your savings, and choosing the right professional for the job, you are not just upgrading your home; you are making a strategic financial decision. Start by getting a few free quotes from trusted contractors in your area, and take the first step toward a more comfortable and affordable home.